Affiliate Disclaimer: This post contains affiliate links, and as an Amazon Associate we earn from qualifying purchases. If you buy through our links, we may earn a small commission at no extra cost to you. We only recommend products we genuinely believe you will enjoy.
When you are new to wood burning, the pattern you choose matters just as much as the pen you hold. A simple, well-chosen design lets you focus on learning to control the heat and make smooth, confident lines, which is the skill that actually improves with practice. A pattern that is too detailed too soon, on the other hand, is where a lot of beginners get discouraged. This guide is all about simple wood burning patterns for beginners: what makes a pattern easy, the best designs to start with, how to use them, and where to find them ready to print and burn.
If you are still setting up your kit, our wood burning for beginners guide covers choosing a burner and mastering the basics. Here, we are focused on the designs themselves.
What makes a pattern beginner-friendly
Not all patterns are created equal when you are learning. The best beginner designs share a few traits that make them forgiving and enjoyable to burn.
Bold, clear lines. Simple outlines are easy to follow and look great even if your technique is not perfect yet. Thin, tangled, or overlapping lines are much harder to trace and burn cleanly.
Not much shading. Shading takes real heat control to do smoothly. Patterns that rely mostly on outlines and simple fills let you build confidence before you tackle gradients and texture.
A modest number of pieces. A design with a handful of clear shapes finishes quickly and keeps the process fun. Something with a hundred tiny details will wear you out before you finish.
Recognizable shapes. Simple, familiar subjects like a leaf, a heart, or a little animal read instantly, so the finished piece looks good and feels rewarding.
There is nothing wrong with starting simple. Clean, simple pieces often look the best, and every simple pattern you finish teaches you skills you carry into the next one.
The best simple patterns to start with
Some subjects are perfect for a first burn because they are forgiving and look great with minimal detail. Here are the ones worth reaching for early on.
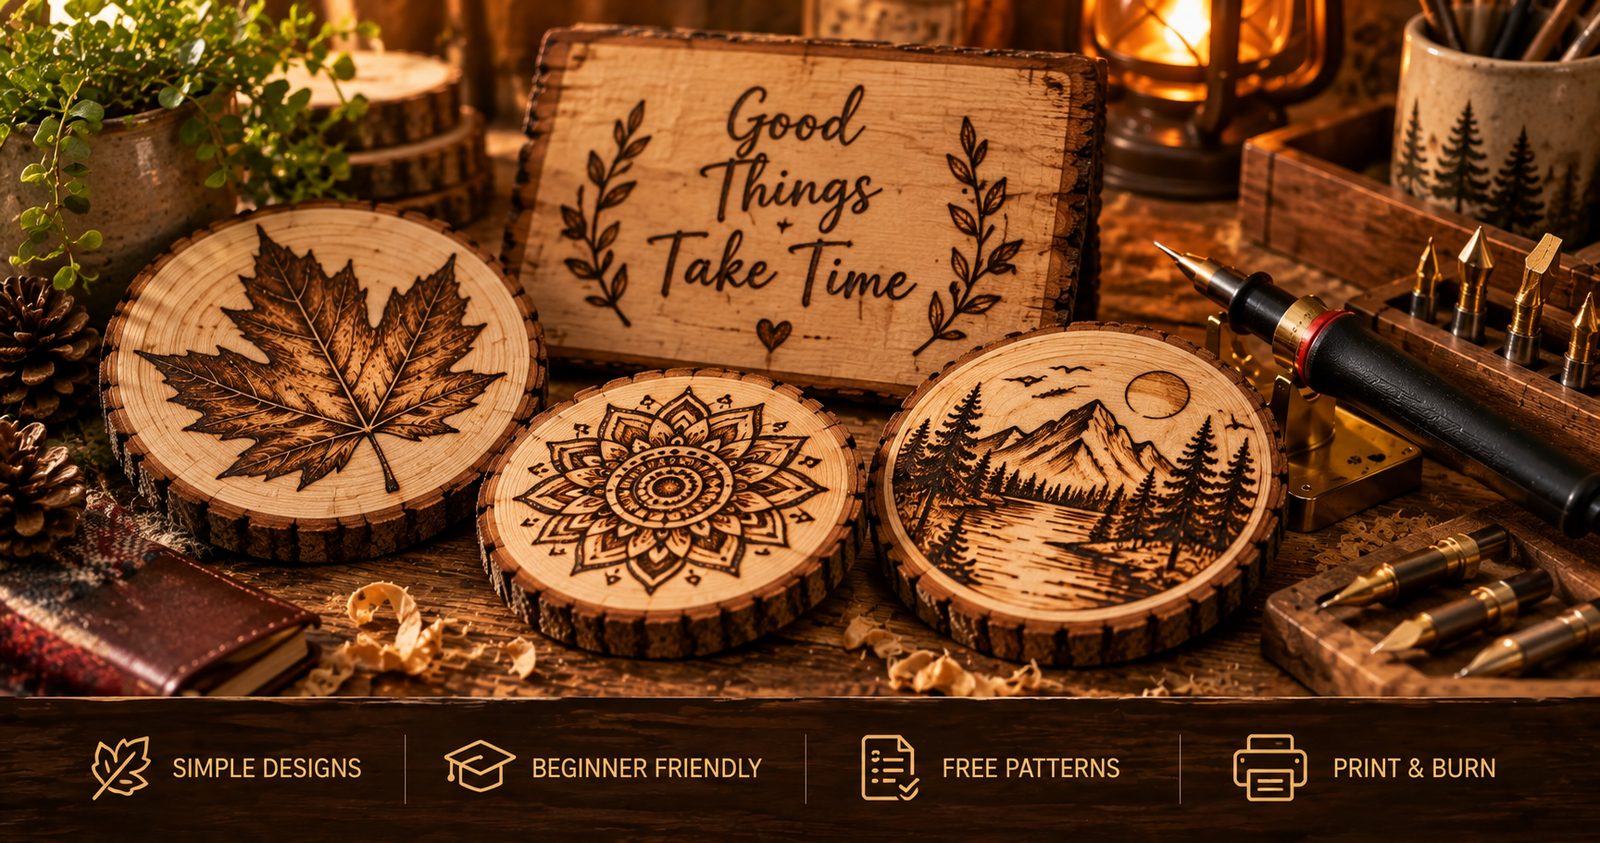
- Leaves and botanicals. A single leaf with a few veins, a sprig, or a simple fern is a classic first project. The shapes are gentle and the lines are easy to follow.
- Simple animals. A bird, a fox, a cat, or a bee in bold outline form is charming and approachable. Our roundup of animal wood burning patterns has plenty of beginner-friendly options.
- Geometric designs. Chevrons, diamonds, simple mandalas, and sunbursts are made of clean lines and repeating shapes, which makes them satisfying and forgiving.
- Lettering and quotes. A single word or a short quote in a simple font teaches you steady lines and makes a lovely sign or gift.
- Hearts, stars, and simple motifs. Small decorative shapes are quick wins that look great on coasters and ornaments.
- Nature scenes. A simple mountain range, a few trees, or a little landscape uses basic lines to create something that looks impressive with very little effort.
Any of these makes a great first piece. Start with a bold, simple version, and save the detailed, heavily shaded designs for once your heat control feels natural.
Choose the right wood and tools
Simple patterns come out best on smooth, light, fine-grained wood that takes the heat evenly. Basswood is the favorite for beginners because it is soft, pale, and nearly grainless, so your lines stay crisp and clean. While some guides suggest keeping burns shallow on birch plywood to avoid the glue, Erik and I advise against burning on plywood at all, especially if you are a beginner, since the glue between the plies can give off harmful fumes when heated. Stick to solid basswood, and if you cannot identify the wood or what has been applied to it, leave it out. Try to avoid pine for designs you want to keep, since its uneven grain has hard and soft bands that burn at different rates and make clean lines harder.
For the tool, an affordable solid-tip kit is plenty to start. A well-rounded set like the TruArt Wood and Leather Pyrography set includes a comfortable pen and a range of tips for outlining and shading. You will also want graphite transfer paper to get your pattern onto the wood.
How to use a wood burning pattern
Getting a pattern from paper onto your wood is simple. The easiest method is wax-free graphite transfer paper: place it graphite-side down on the wood, lay your printed pattern on top, and trace the lines with a pencil. When you lift the paper, a light outline is left on the wood, ready to burn over. You can also rub a soft pencil over the back of your printout and trace the front to press the design through. Once you are done burning, any leftover pencil lines erase away. Our full guide on how to transfer a pattern onto wood walks through every method and the ones to avoid.
Where to find simple wood burning patterns
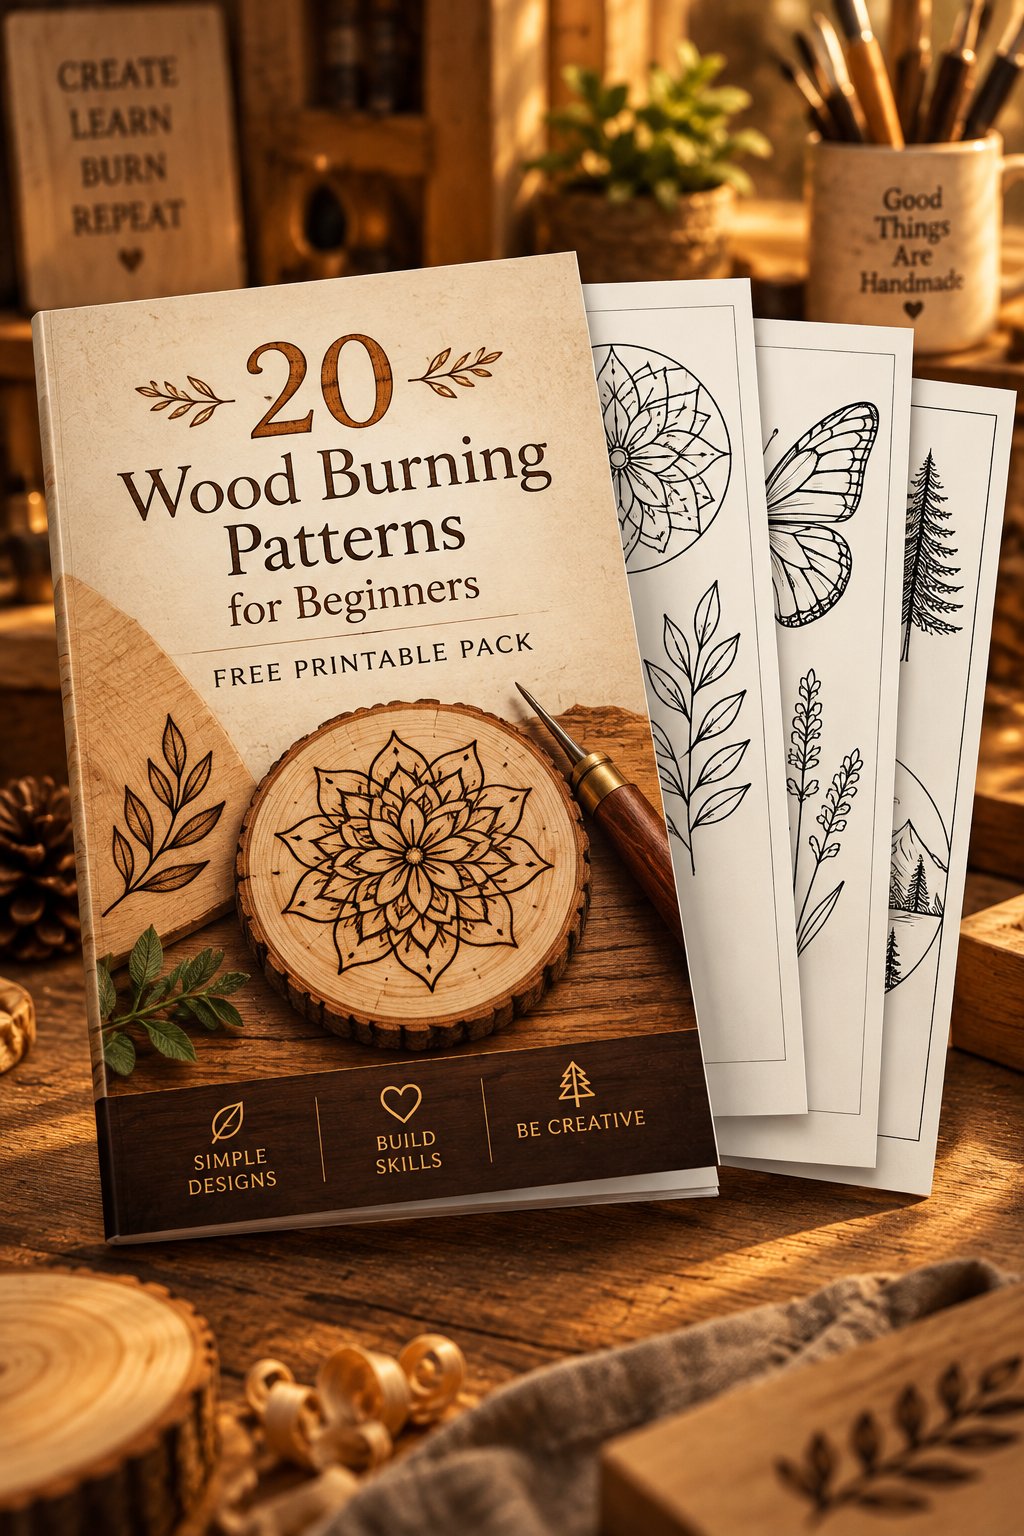
The quickest way to get started is with a ready-made pack of beginner designs, so you can skip the blank-board stall and go straight to burning. We put together a free pack of simple wood burning patterns you can print at home, chosen specifically because they are easy to transfer and easy to burn. It is the ideal way to make your first few pieces.
Once you have caught the bug and want a huge library to grow with, our premium collection of 500 wood burning patterns is sorted from easiest to hardest. That ordering is perfect for beginners, since you can start at the very simplest designs and move up one step at a time as your skills improve, with hundreds of patterns waiting for you the whole way. When you are ready for something more detailed, our 500 Halloween wood burning patterns collect haunted houses, witches, fairy tales and folklore scenes for medium to advanced burners.
Tips for clean results as a beginner
A few simple habits make your finished patterns look their best.
- Practice on scrap first. Warm up with a few lines on a spare piece of the same wood at the same heat setting so your hand is ready and you know how the tool is behaving.
- Let the pen heat fully. A pen that has not reached temperature gives weak, uneven lines. Give it time before you start.
- Outline before you shade. Burn the main lines first, then add any fill or shading, so you do not smudge your plan.
- Keep a steady speed. Consistent movement gives consistent line weight. Patchy lines usually mean you are speeding up and slowing down.
- Turn the wood, not your wrist. For curves, rotate the piece so you are always pulling the pen in a comfortable direction.
- Wipe the tip. Carbon builds up as you work and makes lines drag. A quick wipe on fine sandpaper keeps them crisp.
Common beginner mistakes to avoid
Most early frustrations come down to a few simple things. Pressing too hard does not darken the line, it just wears you out and can gouge the wood, so let the heat do the work. Starting on pine instead of basswood makes clean lines much harder than they need to be. Choosing a pattern that is too detailed too soon leads to discouragement, so keep it simple at first. And forgetting to clean the tip lets carbon build up and muddy your lines. Slow down, use good wood, keep it simple, and your results improve quickly.
Simple project ideas
Simple patterns are perfect for quick projects that also make thoughtful gifts. A set of matching coasters, a small sign or plaque with a word or quote, a holiday ornament, a personalized bookmark, or a decorated wooden spoon are all approachable first pieces. Because simple patterns are so repeatable, you can make a matched set of coasters or a batch of ornaments without any extra work, which is perfect for gifts and craft fairs.
Frequently asked questions
What is the easiest wood burning pattern for a beginner? A single leaf, a simple geometric shape, or a bold animal outline is ideal. They use clear, simple lines and little shading, so you can focus on clean, steady strokes.
What wood should I use for beginner patterns? Basswood is the top pick because it is smooth, pale, and fine-grained, so lines stay crisp. Avoid plywood for burning, since the glue between the plies can give off fumes when heated.
Do I need to be good at drawing? No. You trace patterns onto the wood with graphite transfer paper, so you never draw freehand. Simple patterns with bold lines are made for beginners.
How do I get darker or lighter lines? Move slowly and let the tip linger for darker, deeper lines, and move quickly and lightly for pale, fine lines. Controlling tone with your speed is the core skill of the craft.
Start simple and enjoy it
The secret to enjoying wood burning as a beginner is to start with simple patterns and let each finished piece build your confidence. Choose a bold, clear design, grab a piece of basswood, trace it on, and take your time. Keep your lines steady, outline before you shade, and do not rush. Grab the free pattern pack to make your first pieces today, and when you are ready to grow, the full 500-pattern collection is sorted easiest to hardest so you always have the perfect next design waiting.