Affiliate Disclaimer: This post contains affiliate links, and as an Amazon Associate we earn from qualifying purchases. If you buy through our links, we may earn a small commission at no extra cost to you. We only recommend products we genuinely believe you will enjoy.
One of the hardest parts of starting wood burning is not the tool or the technique. It is figuring out what to burn. Staring at a blank piece of wood with no design in mind is where a lot of beginners stall. That is exactly what patterns are for, and it is why we put together a free pack of simple wood burning patterns you can print at home and start using today.
This page explains what is in the pack, how to use the patterns, and how to get clean results on your first tries. Whether you have been burning for a while or you are about to make your very first piece, a good beginner pattern takes the guesswork out and lets you focus on enjoying the craft.
Free Printable Pack
20 Wood Burning Patterns for Beginners
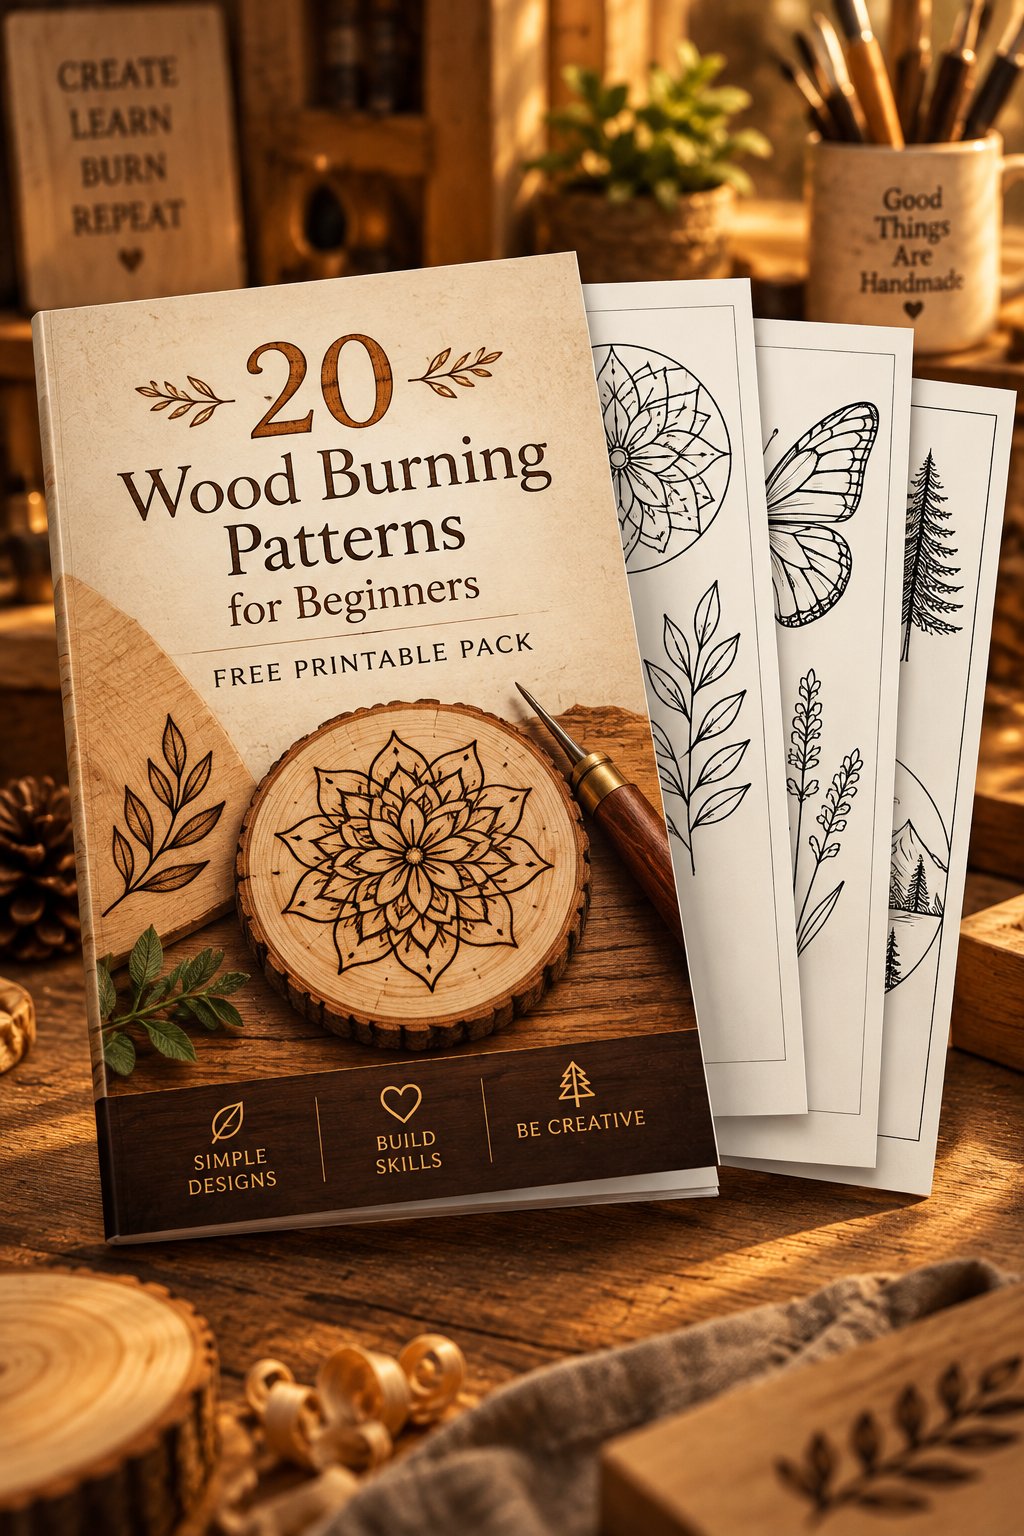
Print, trace, and burn today. Enter your email and we will send the pack straight to your inbox.
No spam, just woodworking. Unsubscribe anytime.
Why patterns make wood burning so much easier
When you are learning, trying to design and burn at the same time is a lot to juggle. A pattern removes half of that work. It gives you a clear set of lines to follow, so all your attention can go into controlling the heat and making smooth, confident strokes. That is the skill that actually improves with practice, and patterns let you build it faster.
Simple patterns are best at the start. Bold outlines and clean shapes are forgiving, they look great even if your technique is not perfect yet, and they finish quickly, which keeps the process fun. As your control improves, you can move on to designs with shading and finer detail. But there is no shame in starting simple, and honestly, clean, simple pieces often look the best.
Grab the free pack further down this page, or if you already know you want more range, the 500 pattern set runs from simple outlines all the way to dense, detailed work.
What is in the free pattern pack
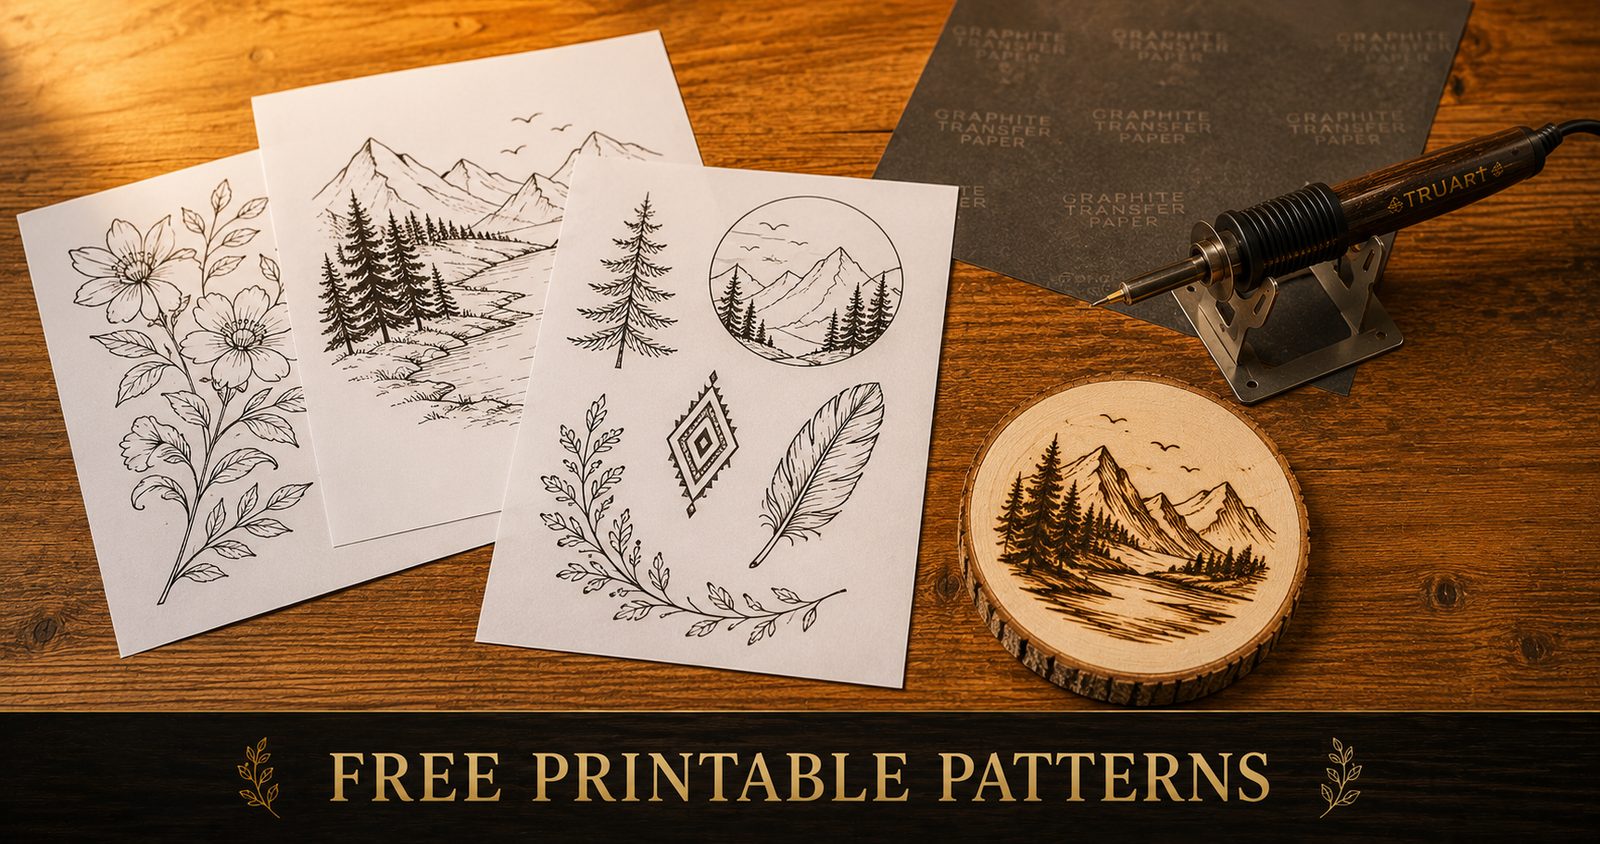
Our free printable pack is built specifically for beginners, with designs chosen because they are easy to transfer and easy to burn. Inside you will find a variety of styles so there is something to suit whatever you feel like making. The pack includes simple animals and sea life, leaves and botanical shapes, geometric and mandala-style designs, celestial motifs, kitchen and fruit shapes, and a few seasonal ones for gifts and decorations.
Every pattern is printed one to a page, sized so you can use it as it comes or scale it down to fit smaller pieces like coasters, ornaments, and bookmarks. Each one uses clear, bold lines that transfer cleanly and are comfortable to follow with a burner. You can print any of them as many times as you like, so there is plenty of room to practice.
How to use the patterns
Getting a pattern from the page onto your wood is simple, and it takes only a couple of everyday supplies.
The easiest method is graphite transfer paper. Print your chosen pattern, place a sheet of transfer paper graphite-side down on your wood, lay the printed pattern on top, and trace the lines firmly with a pencil or a stylus. When you lift the paper, the design is left on the wood, ready to burn over. If you do not have transfer paper, you can also rub a soft pencil over the back of your printed pattern, then place it face up on the wood and trace the front to press the graphite through.
Once the design is on the wood, you simply follow the lines with your wood burning pen. Take it slowly, let the heat do the work, and keep your strokes smooth. When you are finished, any leftover pencil or graphite lines erase away easily. If you are new to the tool itself, our full wood burning for beginners guide walks through choosing a kit, picking the right wood, and mastering heat control.
Choose the right wood for clean results
Patterns burn best on smooth, light, fine-grained wood. Basswood is the top choice for beginners because it is soft, pale, and nearly grainless, so your lines come out crisp and even. Erik and I advise against burning on plywood at all, especially if you are a beginner. While some guides suggest keeping the burn shallow on the face veneer to avoid the formaldehyde in the adhesive between the plies, the simpler and safer approach is to stick to solid basswood. If you cannot identify the wood or what has been applied to it, leave it out.
Try to avoid pine for pattern work when you can. Its uneven grain has hard and soft bands that burn at different rates, which makes it hard to keep a traced line looking consistent. Save pine for practice scraps, and use basswood or birch for the pieces you want to keep.
Never burn MDF, chipboard, or anything painted, stained, sealed, or pressure treated. MDF in particular is packed with formaldehyde binders, and heating those coatings and glues gives off fumes you do not want to breathe.
Tips for burning a pattern cleanly
A few simple habits make your finished pattern look its best.
- Practice the strokes first. Before you burn your traced piece, run a few lines on scrap wood at the same heat setting so your hand is warmed up and you know how the tool is behaving that day.
- Outline before you shade. Burn the main outlines of the pattern first, then go back and add any shading or fill. This keeps your design clean and stops you from smudging your plan.
- Keep a steady speed. Consistent movement gives you consistent line weight. If a line comes out patchy, you are probably speeding up and slowing down as you go.
- Turn the wood, not your wrist. For curves, rotate the wood so you are always pulling the pen in a comfortable direction, rather than twisting your hand into awkward angles.
- Wipe your tip. Carbon builds up on the tip as you work and can make lines drag or look muddy. A quick wipe on brass wool or a brass brush keeps it clean and your lines crisp. Avoid sandpaper on wire nibs, since it wears the delicate wire away.
What to make with your patterns
The patterns in the pack are sized and chosen for quick, satisfying projects that also make lovely gifts. A set of coasters with matching designs, a small sign or plaque with a favorite word or quote, holiday ornaments, a personalized bookmark, or a decorated wooden spoon are all great first pieces. Because you can print each pattern as many times as you want, you can make a matched set of coasters or a batch of ornaments without any extra design work.
Personalized pieces are where wood burning really shines. Add a name, a date, or a little motif from the pack, and a plain wooden item becomes a thoughtful, handmade keepsake. These are the kind of gifts people actually keep, and they cost very little to make.
Make the patterns your own
One of the best things about working from patterns is that they are a starting point, not a rulebook. Once you have burned a design a couple of times, start putting your own spin on it. Combine two patterns into one scene, add a name or a date to personalize a piece, or change the shading to give a design more depth and mood. You can also resize a pattern to fit a different piece of wood, or repeat a small motif around the border of a coaster or plaque. Treating the patterns as building blocks is how you grow from copying designs to creating your own, and it keeps the craft fresh.
A simple first piece, start to finish
If you want a clear first project, here is an easy one. Take a small basswood or birch round, pick a simple pattern from the pack like a leaf or a little animal, and transfer it with graphite paper. Let your burner heat up fully, warm up with a few strokes on scrap, then carefully burn the outline of your design. Once the outline is done, add any light shading. Erase any leftover pencil marks, give it a quick wipe, and finish with a coat of clear wax or sealer. In under an hour you will have a finished, handmade piece, and you will have practiced every core skill along the way.
Turn your patterns into gifts and decor
Because the patterns are quick to burn and endlessly repeatable, they are perfect for making gifts and decor in small batches. A matched set of coasters, a row of ornaments for the tree, or a little sign for a friend all come together fast once you have a pattern to follow. Personalized pieces, with a name or a meaningful date added to the design, are especially well received, since a handmade, personalized item is the kind of gift people keep. Many people find that pyrography quickly becomes their go-to for thoughtful, low-cost presents.
A few things you will need
To burn the patterns, you only need a small handful of supplies. A wood burning kit with a pen and a few tips, such as the TruArt Wood and Leather Pyrography set, some pieces of basswood, graphite transfer paper, a pencil, and an eraser will get you making finished pieces right away. A clear sealer or wax is nice to have for protecting your work once it is done. None of it is expensive, which is a big part of why pyrography is such an easy craft to start.
Frequently asked questions
How do I transfer a printed pattern onto wood? The easiest way is graphite transfer paper. Place it graphite-side down on the wood, lay your printed pattern on top, and trace the lines with a pencil. You can also rub pencil over the back of the printout and trace the front to press the lines through.
What wood works best with these patterns? Basswood is the easiest by a wide margin, since it is smooth, light, and fine-grained, so transferred lines stay crisp and the burn comes out even. Solid birch works well too. Erik and I advise against burning on plywood, since the glue between the plies can give off fumes when heated. Pine is best kept for practice, since its uneven grain makes clean lines harder, and MDF should not be burned at all.
Can I resize the patterns? Yes. Print them larger or smaller to fit your piece, and feel free to combine or repeat designs. The patterns are a starting point, so adapting them to your project is encouraged.
Do I need an expensive wood burner to use them? No. An affordable beginner solid-tip kit is plenty for following these patterns. You can always upgrade to an adjustable wire-nib burner later if you decide you love the craft.
Grab your free patterns and start burning
The patterns are free, they are made for beginners, and they are ready to print. Enter your email below and we will send the pack straight to your inbox, along with the occasional new pattern, tip, and project idea to keep you inspired. You can unsubscribe any time, and we will never share your details.
Free Printable Pack
20 Wood Burning Patterns for Beginners
Print, trace, and burn today. Enter your email and we will send the pack straight to your inbox.
No spam, just woodworking. Unsubscribe anytime.
Print a pattern, trace it onto a piece of basswood, and follow the lines with your burner. That is genuinely all it takes to go from a blank piece of wood to a finished, handmade piece you can be proud of. Download the free pack, pick a design you like, and make your first one today.
Once you have worked through these twenty and want somewhere to go next, there is a much bigger set: 500 wood burning patterns, sorted from easiest to hardest, with every page measured so you know which ones your pen can handle and which are better given to a laser. For autumn, there is also a collection of 500 Halloween wood burning patterns, with detailed haunted houses, witches and fairy tale scenes for when you have a few projects behind you.