Affiliate Disclaimer: This post contains affiliate links, and as an Amazon Associate we earn from qualifying purchases. If you buy through our links, we may earn a small commission at no extra cost to you. We only recommend products we genuinely believe you will enjoy.
You have found the perfect wood burning pattern and a nice smooth piece of wood, and now you are staring at both wondering how to get the design from the paper onto the board. This is the step that stalls a lot of beginners, but it is genuinely simple once you know the method. There are several reliable ways to transfer a pattern onto wood, and this guide walks through the best one step by step, covers the free alternatives, and explains which popular methods to avoid and why, since a couple of them are not safe to use with wood burning.
If you are new to the craft overall, our wood burning for beginners guide covers the tools and technique. Here we are focused purely on transferring your design cleanly and safely.
What you will need
Most transfer methods need only a few everyday items: your printed pattern, a pencil, an eraser, and some tape to hold everything still. The one item worth buying is graphite transfer paper, which is inexpensive, reusable, and makes the whole job easy. A smooth, sanded piece of wood also transfers far more cleanly than a rough one, so give your surface a quick sand with fine sandpaper first and wipe off the dust.
Method 1: Graphite transfer paper (the best method)
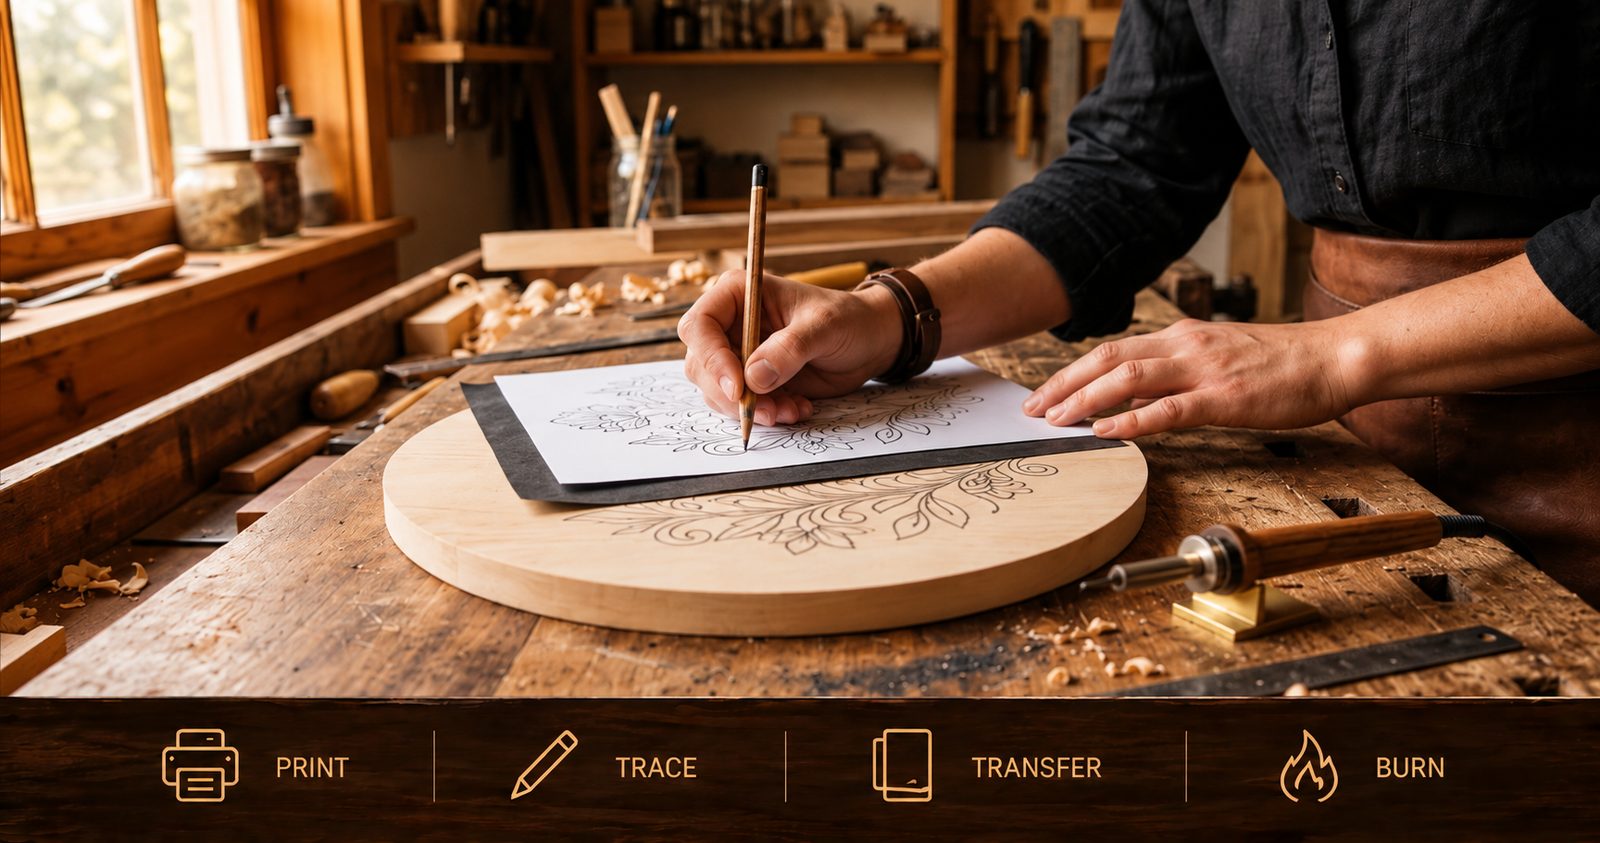
Graphite transfer paper is the method most pyrographers recommend, and for good reason. It gives you crisp, controllable lines, it erases away cleanly after you burn, and it works on almost any wood. One important detail: look for wax-free graphite paper. Some transfer papers are wax-based and behave more like carbon paper, which is exactly what you want to avoid for burning. The packaging or product description should say wax-free or graphite.
Here is how to use it, step by step:
- Print your pattern at the size you want, and sand your wood smooth.
- Position the pattern on the wood and tape one edge down so it works like a hinge and does not shift.
- Slide the graphite paper underneath, graphite-side down against the wood.
- Trace over every line of the pattern with a pencil or a fine ballpoint pen, pressing firmly and evenly. A colored pen helps you see which lines you have already traced.
- Lift a corner to check the transfer before you remove everything, so you can go back over any lines you missed.
- Remove the papers, and you are left with a clean graphite outline ready to burn.
Graphite paper is reusable many times, so a single pack lasts through dozens of projects. Keep your tracing lines light rather than heavy, since you only need enough to guide your burner.
Method 2: Make your own graphite transfer (free)
If you do not have transfer paper, you can make your own with nothing but a pencil, and it works just as well. Take your printed pattern and, on the back of the paper, rub a soft pencil such as a 4B firmly over the areas where the design lines are, building up a good layer of graphite. Then place the pattern face up on your wood, tape it in place, and trace the front of the design with a pencil or pen. The graphite you rubbed on the back presses onto the wood, leaving your outline behind.
This homemade method costs nothing, uses supplies you already have, and is a great backup when you run out of transfer paper. The only downside is the extra minute spent shading the back, but for a single project it is barely any trouble.
Method 3: Freehand with a hard pencil
For simple designs, you can skip transfer paper entirely and draw the pattern directly onto the wood in pencil. A hard pencil such as a 2H or H is best, because it makes light lines that are easy to burn over and easy to erase. This works well for basic shapes, lettering, and geometric designs, and it is a good way to build your confidence. The catch is that you need to be comfortable copying the design by eye, and heavy erasing can dirty up a pale board, so keep your lines light.
Method 4: Trace at a window or lightbox
If your wood is thin and pale, like a slice of veneer or thin basswood, you can use light to trace. Tape your pattern to a bright window or lay it on a lightbox, place the thin wood on top, and the design shows through enough to trace directly with a pencil. This is a neat, low-cost option, though it only works with thin, light-colored wood that lets light pass through, so it is not suitable for thicker boards.
Method 5: Use a projector for large or detailed designs
For large signs or complex artwork, some pyrographers project the image onto the wood and trace the lines by hand. A small projector casts your design onto the surface at whatever size you like, which is handy for oversized pieces that are awkward to transfer any other way. It is more of an investment than the other methods, so it is worth it mainly if you regularly make large work.
Methods to avoid, and why
Two popular transfer methods come up often, especially in videos and online groups, and both are best avoided when your project involves wood burning. This is worth understanding, because it is a genuine safety matter, not just a preference.
Ordinary carbon paper. Carbon paper looks similar to graphite paper and transfers a similar line, but it is petroleum and wax based. Its lines are much harder, sometimes impossible, to erase from wood, so they can show through your finished piece. More importantly, because it is a petroleum product, burning over carbon lines can give off fumes you do not want to breathe. Many experienced pyrographers avoid it for burning for exactly these reasons. If a “graphite” paper is actually wax-based carbon paper in disguise, treat it the same way. Stick to genuine wax-free graphite.
Heat and toner transfer methods. You may see tutorials that print a design from a laser or inkjet printer and then transfer the ink onto the wood using heat from an iron, or using a solvent like acetone. These can work for some crafts, but they are not recommended for pyrography, because you then burn directly over printer toner or ink, which can release harmful fumes. Printer manufacturers do not recommend heating their toner for this purpose. These methods may be fine for wood carving, where you are not applying heat to the lines, but for burning they are a health risk. Keep them off your list for pyrography.
The takeaway is simple: for wood burning, use graphite, whether that is wax-free graphite transfer paper, a homemade graphite rub, or a pencil drawn straight onto the wood. Those are the clean, safe options.
Tips for a clean, accurate transfer
- Sand first. A smooth surface takes a far crisper transfer than a rough one, so sand with fine grit and wipe away the dust before you start.
- Tape it down. Securing your pattern with tape on one edge stops it from shifting, which keeps your lines aligned and prevents a doubled, blurry transfer.
- Trace lightly but completely. You only need faint guide lines to burn over, so avoid pressing so hard that you dent the wood, but do go over every line so nothing is missing when you start burning.
- Check before you lift. Peek under a corner to confirm the whole design came through, then fix any gaps before removing the papers.
- Keep spare copies. Print a couple of copies of your pattern, since transfer lines can wear the paper, and it is nice to have a clean reference beside you while you burn.
Erasing leftover lines after burning
Once your design is burned in, you will often have faint graphite guide lines left just outside the burned marks. These erase away easily with a normal eraser once the piece has cooled. For stubborn spots, a soft art eraser or a kneaded eraser lifts graphite without roughing up the wood. This is another reason graphite is the right choice, since it comes off cleanly and leaves your finished piece looking crisp.
The best wood for a clean transfer
Smooth, pale, fine-grained wood takes a transfer best and burns cleanly afterward. Basswood is the top choice for exactly this reason. While some guides suggest keeping burns shallow on plywood to avoid the glue, Erik and I advise against burning on plywood at all, especially if you are a beginner, so stick to solid basswood. If you cannot identify the wood or what has been applied to it, leave it out. A smooth surface is what lets your traced lines stay crisp, so it is worth starting with good wood.
Where to get patterns to transfer
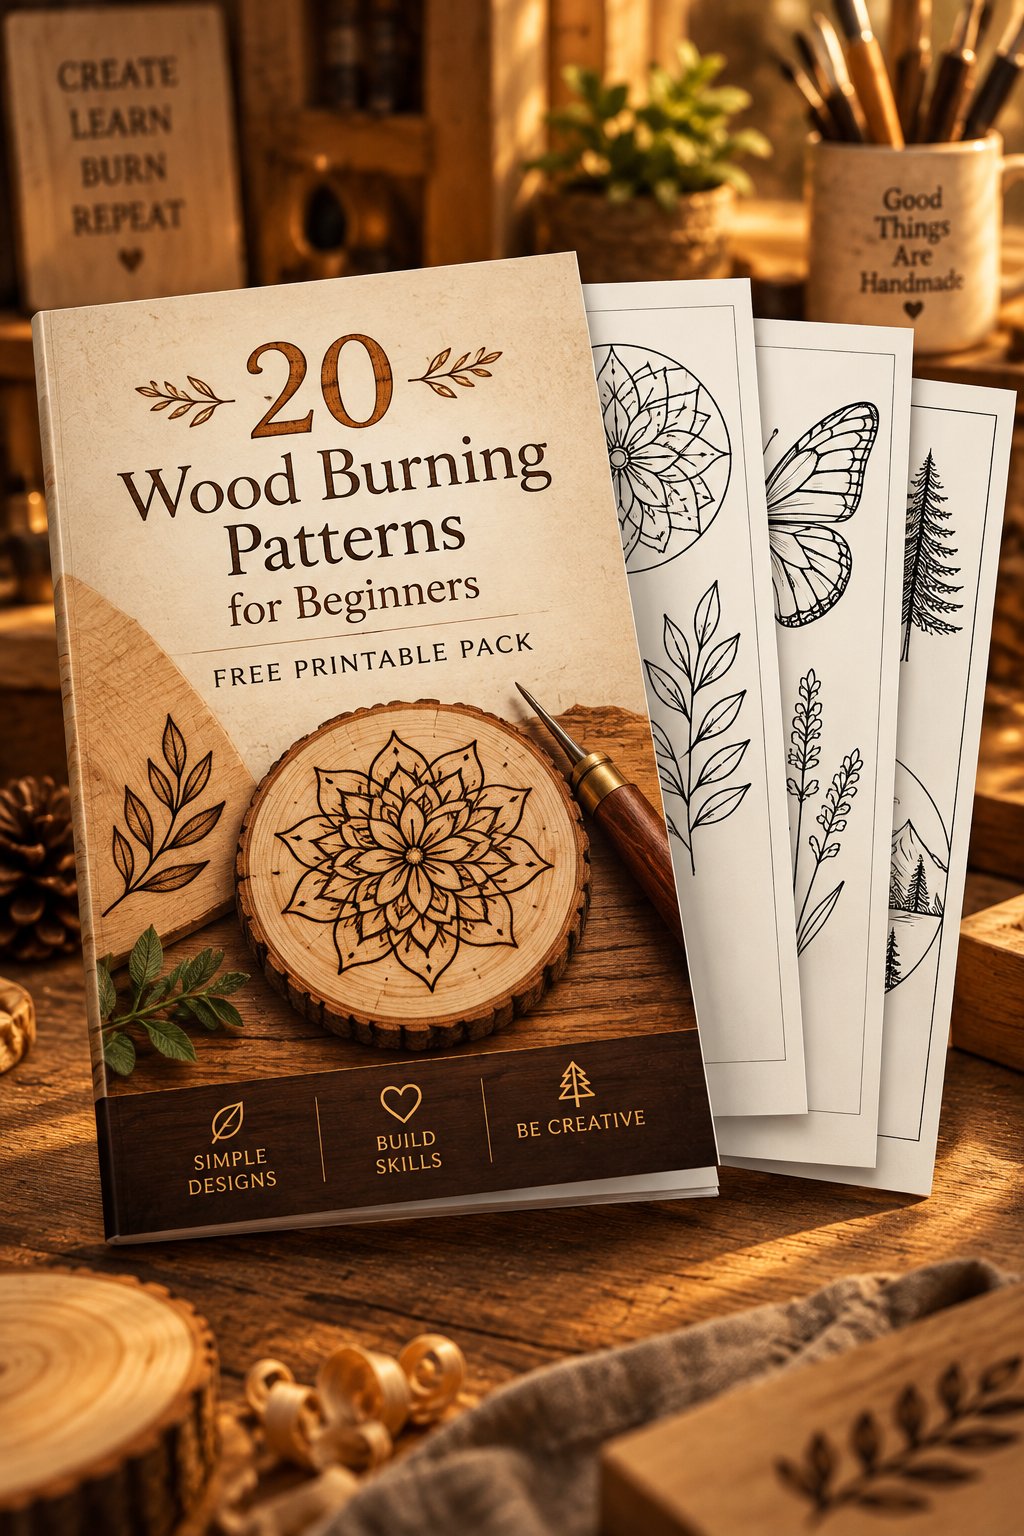
Now that you know how to transfer a design, you just need designs worth transferring. We put together a free pack of beginner wood burning patterns you can print at home and trace straight onto your wood, which is the perfect way to practice your transfer technique on something simple.
And when you want a large library to work through, our premium collection of 500 wood burning patterns is sorted from easiest to hardest, giving you hundreds of ready-to-transfer designs across animals, florals, nature, and more. For more ideas on what to burn, see our roundups of simple patterns for beginners and animal patterns. For seasonal projects, there is also a collection of 500 Halloween wood burning patterns, full of detailed autumn, fairy tale and folklore scenes ready to transfer.
Frequently asked questions
What is the best way to transfer a pattern onto wood for burning? Wax-free graphite transfer paper is the most reliable and beginner-friendly method. It gives crisp lines, erases cleanly after burning, and works on nearly any wood.
Can I use carbon paper instead of graphite paper? It is best avoided for wood burning. Carbon paper is wax and petroleum based, its lines are very hard to erase, and burning over them can give off fumes. Use wax-free graphite instead.
Is the iron-on or heat transfer method safe for wood burning? No. Those methods leave printer toner or ink on the wood, and burning over it can release harmful fumes. They may suit other crafts, but they are not recommended for pyrography.
How do I remove the pencil lines after burning? Let the piece cool, then erase the leftover graphite with a normal or kneaded eraser. It comes off easily, which is a big advantage of using graphite.
Do I need transfer paper at all? Not necessarily. You can rub graphite on the back of your printout and trace it through, draw simple designs freehand with a hard pencil, or trace thin wood at a window. Graphite transfer paper just makes it easiest.
Transfer with confidence
Transferring a pattern onto wood is one of the easiest parts of pyrography once you use the right method. Reach for wax-free graphite transfer paper, or make your own graphite rub in a pinch, sand your wood smooth, tape everything down, and trace lightly but completely. Steer clear of carbon paper and heat transfer methods, since those are not safe to burn over, and stick with graphite for clean, erasable lines. Grab the free pattern pack to practice on, and when you are ready for more, the full 500-pattern collection gives you a lifetime of designs to transfer and burn.