Affiliate Disclaimer: This post contains affiliate links, and as an Amazon Associate we earn from qualifying purchases. If you buy through our links, we may earn a small commission at no extra cost to you. We only recommend products we genuinely believe you will enjoy.
Wood burning, also called pyrography, is one of the friendliest crafts to pick up. It costs very little to start, the tools are simple, and the results look wonderful even when you are just beginning. You use a heated pen to draw and shade designs directly onto wood, turning a plain surface into art, signs, ornaments, and personalized gifts. If you enjoy drawing, or you just find slow, focused handwork relaxing, pyrography is easy to fall in love with.
This guide covers everything a beginner needs to get started, from choosing a wood burning kit to picking the right wood, learning the basic technique, finding patterns, and staying safe. By the end you will know exactly what to buy and how to make your first piece.
What wood burning actually is
Pyrography simply means writing or drawing with fire. In practice, you hold a wood burning pen that heats up at the tip, and you touch or drag that hot tip across a piece of wood to scorch a line or a shaded area. By controlling the heat, the speed, and the pressure, you create everything from fine outlines to soft shading to deep, dark accents. The finished result is a permanent design burned right into the wood.
It is a calm, deliberate craft. You cannot rush it, and that is part of the appeal. Many people find the slow, steady pace genuinely relaxing, and because the tools and materials are inexpensive, there is very little standing between you and your first project.
Choosing your wood burning tool
The tool is the heart of pyrography, and there are two main types to know about.
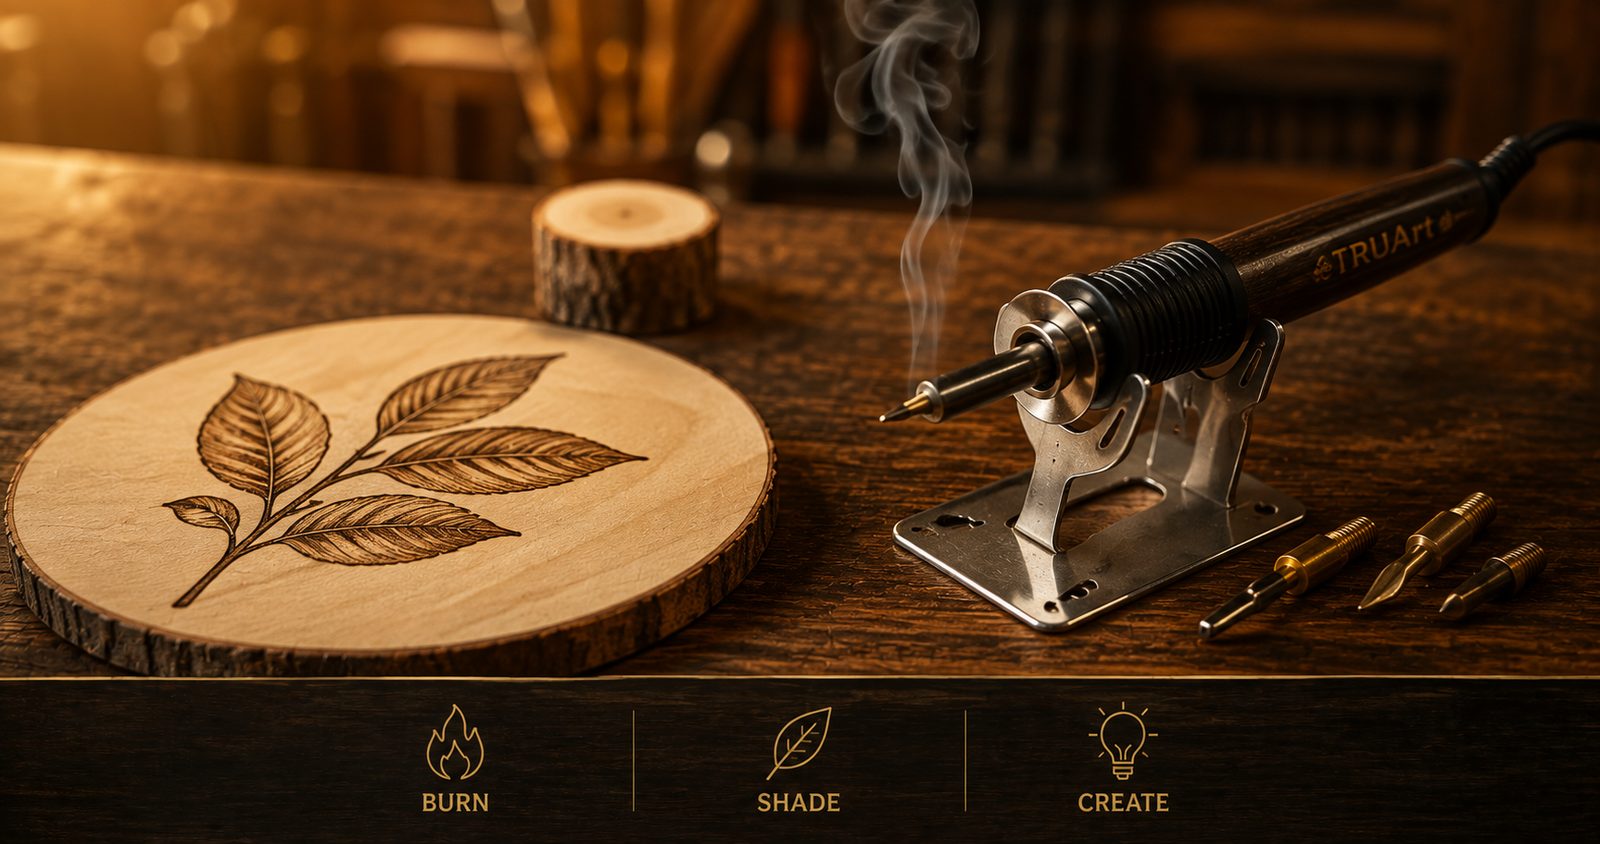
The first is a solid-tip wood burner, which looks like a thick pen and comes with a set of interchangeable brass tips. These are the most affordable and the most common starter tools. They take a little while to heat up and cool down, and you swap tips by hand, but they are perfectly good for learning and for a wide range of work. If you want to try pyrography without spending much, a solid-tip kit is the way in.
The second is a wire-nib burner, sometimes called a professional or hot-wire unit. These have a base station with an adjustable temperature dial and a pen with a fine wire tip that heats up and cools down almost instantly. They give you much finer control over heat and detail, which makes shading and delicate work easier. They cost more, so many people start with a solid-tip kit and upgrade to a wire-nib unit once they know they enjoy the craft.
Whichever you choose, look for a kit that includes a range of tips or nibs, since different shapes are suited to outlining, shading, and lettering. A beginner wood burning kit that bundles the pen, several tips, and a few practice pieces is a great, low-cost place to start, and the TruArt Wood and Leather Pyrography set is a well-rounded example, with a comfortable pen, a full range of tips, and the accessories you need to make your first pieces.
The best wood for burning
Your choice of wood makes a real difference to how easy and enjoyable burning is. You want a smooth, light-colored, softer wood with a fine, even grain, because it takes the heat evenly and shows your design clearly.
Basswood is the favorite for good reason. It is soft, pale, almost grainless, and burns beautifully with smooth, even results, which is exactly what a beginner wants. Poplar and maple also work well, and solid birch is a good choice too.
You will also see birch plywood recommended a lot, sold in ready-made plaques, rounds, and ornaments. While some guides suggest keeping the burn shallow on the face veneer to avoid the glue, Erik and I advise against burning on plywood at all, especially if you are a beginner. The adhesive between the plies contains formaldehyde, which off-gasses when heated, and it is not worth the risk when solid wood is easy to find. Stick to solid basswood, and if you cannot identify the wood or what has been applied to it, leave it out.
Pine is cheap and available, but it comes with a warning. Its grain is uneven, with hard and soft bands, so the heat burns the soft parts fast and the hard grain resists, which makes smooth shading tricky. It also contains a lot of resin, which produces more smoke. You can burn on pine, but if you can start with basswood, your early results will look far better and you will enjoy the process more.
Whatever wood you use, choose pieces that are raw and unfinished. Never burn on wood that has been painted, stained, sealed, or pressure treated, and never burn MDF or chipboard, which are packed with formaldehyde binders. Heating those coatings and glues releases fumes you do not want to breathe.
Getting started with the technique
The basic idea is simple, and a little practice goes a long way. Before you touch your good piece, spend time on a scrap board getting a feel for the tool.
Let the pen heat up fully first. Then try dragging it slowly across the wood to make a line. The longer the tip stays in one spot and the slower you move, the darker and deeper the burn. Move quickly and lightly, and you get a pale, fine line. Learning to control tone by adjusting your speed and heat is the core skill of pyrography, and it comes surprisingly fast once you start playing with it.
Hold the pen like a regular pen and let the heat do the work rather than pressing hard. Pressing does not make it darker, it just wears you out and can gouge the wood. Keep your strokes smooth, and lift the pen cleanly at the end of each line. To keep your tips working well, wipe carbon buildup off them now and then with brass wool or a brass brush. Fine sandpaper works in a pinch on solid brass tips, but go gently, since it wears them down and reshapes them over time, and do not use it on wire nibs at all.
Transferring a pattern onto the wood
Unless you are comfortable drawing freehand, you will want to get your design onto the wood before you burn. The easiest method is graphite transfer paper. You lay your printed pattern over a sheet of transfer paper on the wood, trace the lines with a pencil, and the design transfers underneath. You can also draw lightly in pencil freehand, since pencil lines are easy to burn over and any leftover marks erase away.
Start with simple patterns that have clear outlines, such as animals, leaves, simple lettering, or geometric designs. Complex, highly shaded artwork can come later once you are comfortable with heat control.
Where to find wood burning patterns
Patterns take the guesswork out of getting started, and there is no shortage of them. Beginner-friendly designs with bold, simple lines are ideal for your first pieces. As you build confidence, you can move on to more detailed patterns with shading and fine work.
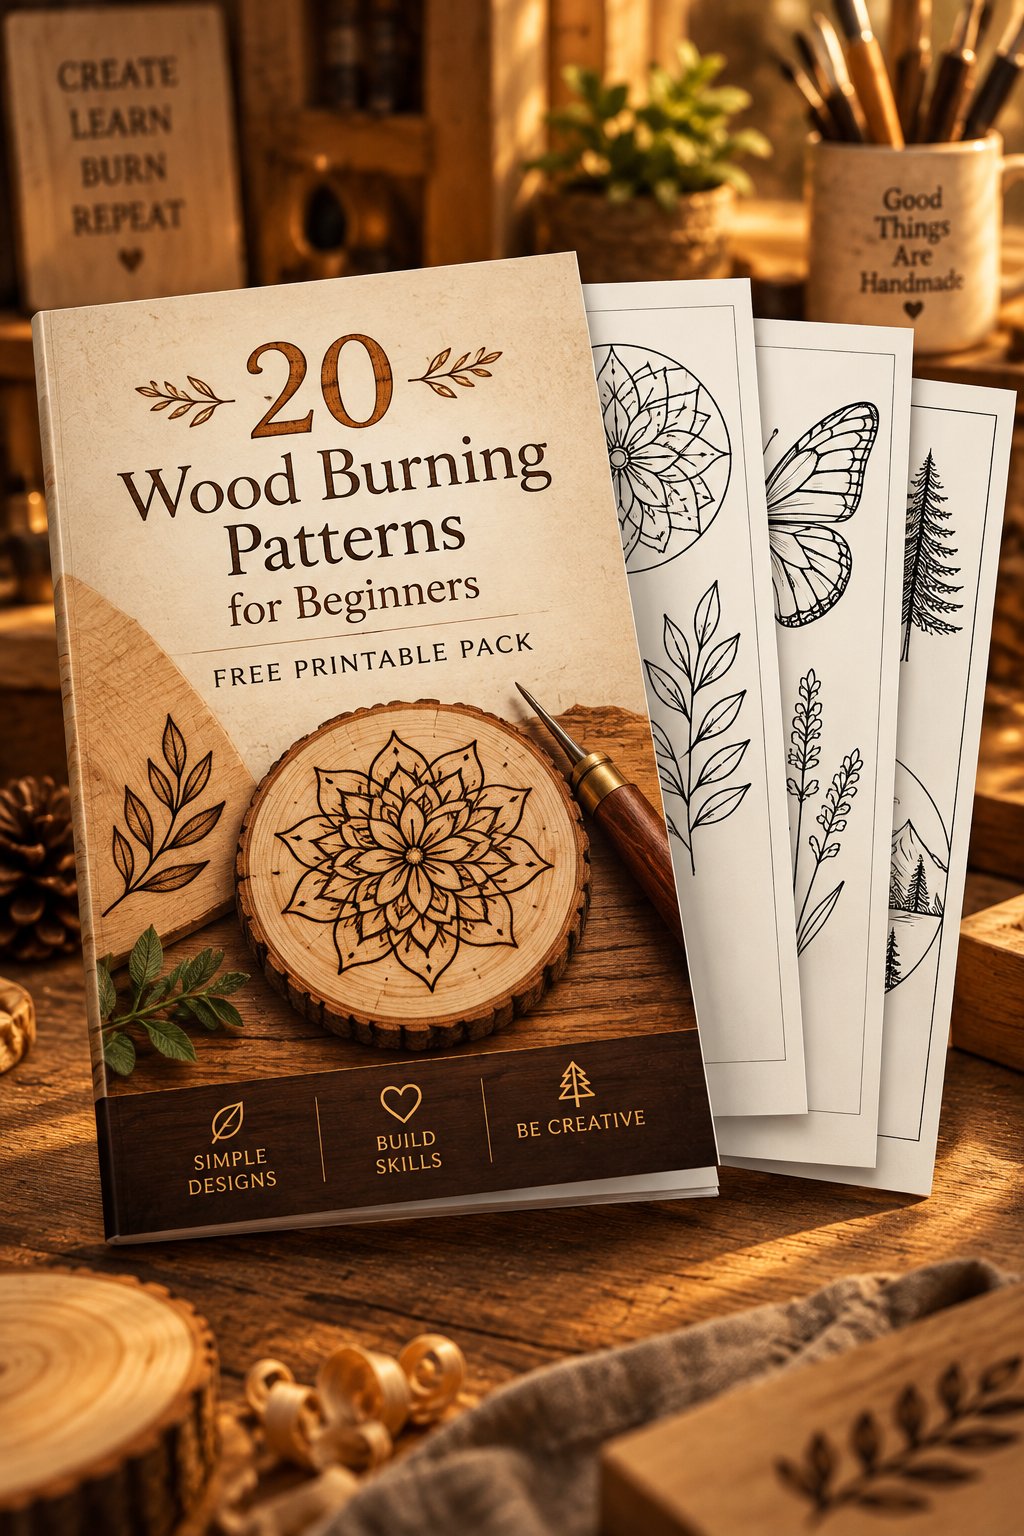
To help you start right away, we put together a free pack of beginner wood burning patterns you can print at home. You can grab it on our simple wood burning patterns page. Trace one onto a piece of basswood, follow the lines with your burner, and you have your first finished piece.
When twenty is not enough, there is a larger set: 500 wood burning patterns sorted from easiest to hardest. Every page was measured for how much line work it carries and how close together the lines run, so the early pages are genuinely simple and the later ones genuinely are not. Pages with detail too fine for a hand-held pen say so under the title. For the spooky season, our 500 Halloween wood burning patterns are a more detailed set of haunted houses, fairy tales and folklore scenes, best saved for when you have some practice.
Finishing your burned pieces
Once your design is done and you are happy with it, you can leave the wood natural or add a finish to protect it and bring out the warmth of the wood. A clear wood finish such as a wax, an oil, or a spray sealer works well. Make sure your piece is fully cooled and any pencil marks are erased first. If you add color, watercolor or colored pencil applied before sealing can bring a design to life, though many pyrography pieces look beautiful in plain, natural tones.
Wood burning safely
Pyrography is a gentle craft, but the tool is genuinely hot, so a few sensible precautions matter. The tip reaches high temperatures, so always rest the pen on its stand when you are not using it, keep it away from anything flammable, and never leave it plugged in and unattended. Give the tip plenty of time to cool before you touch it or change it, and use pliers or the tool provided if you need to swap a hot tip.
Burning wood produces smoke, and breathing it is not good for you, so always work in a well-ventilated space. Open a window, run a fan, or use a small fan to draw the smoke away from your face. A mask rated for fine particles helps too. And as mentioned above, only burn raw, untreated solid wood, avoid plywood, and never burn MDF or finished wood, since those give off harmful fumes when heated.
Common beginner mistakes to avoid
A few simple mistakes trip up most beginners, and all of them are easy to fix. The most common is pressing too hard, which does not darken the line and just wears you out and can gouge the wood. Let the heat do the work instead. Another is not letting the pen heat up fully before starting, which gives weak, uneven lines. Moving too fast or too slow leads to inconsistent tone, so aim for a steady pace. Many beginners also start on pine and get frustrated by its uneven grain, when basswood would have made the whole thing easier. And forgetting to clean the tip as carbon builds up makes lines drag and look muddy. Slow down, use good wood, keep your tip clean, and your results improve quickly.
Adding color to your work
Many pyrography pieces look beautiful in plain, natural wood tones, but you can add color if you like. Watercolor paints are a popular choice, since they add soft color without hiding the burned lines or the grain underneath. Colored pencils give you fine control for small areas. The usual approach is to finish all your burning first, then add color, and seal the piece once everything is dry. If you do add color, keep it light and let the wood and your burned design still show through, since that combination of natural wood, dark burned lines, and gentle color is what makes finished pyrography so appealing.
Simple first projects to try
The best way to learn is to make something, and small projects give you quick, satisfying wins. A wooden coaster with a simple design, a small sign or plaque with a word or a quote, a holiday ornament, a bookmark, or a decorated wooden spoon are all approachable first pieces. Personalized items make especially nice gifts, since a burned name, date, or little design turns a plain object into something thoughtful and one of a kind.
Once you have a few of these under your belt, you can move on to larger signs, detailed animal and nature designs, and shaded artwork. Many people also find that pyrography pairs naturally with their other woodworking, adding decoration to boxes, cutting boards, and carved pieces.
Going further: from pyrography pen to laser engraver
Hand wood burning is a craft you do slowly, and that is a big part of its charm. But if you catch the bug and want to take things further, especially if you start selling your work or want to reproduce detailed designs quickly and consistently, a laser engraver is worth knowing about. A machine like the xTool S1 laser engraver burns a design into wood automatically from a digital file, with a precision and speed no hand can match. It handles intricate artwork, fine lettering, and repeat batches in minutes, and it cuts as well as engraves, which opens up a whole new range of projects.
To be clear, a laser is a different tool, not a replacement for the meditative feel of a pyrography pen. Plenty of people keep doing both, using the pen for one-off, personal pieces and the laser for production and complex designs. If you are thinking about turning your wood burning into a side business, or you simply love the idea of precise, repeatable engraving, it is a serious step up worth considering.
Frequently asked questions
What is the best wood burning tool for beginners? An affordable solid-tip kit with several interchangeable tips is the easiest and cheapest way to start. If you decide you love the craft, you can upgrade to an adjustable wire-nib burner for finer control.
What is the best wood for wood burning? Basswood is the favorite, since it is soft, pale, and nearly grainless, so it burns smoothly and evenly. Solid birch, poplar, and maple also work well. Erik and I advise against burning on plywood, since the glue between the plies can give off fumes when heated. Avoid MDF, chipboard, and any finished or treated wood, which release harmful fumes.
Is wood burning safe? Yes, with sensible precautions. Rest the hot pen on its stand, keep it away from anything flammable, never leave it unattended, and always work in a well-ventilated space so you are not breathing the smoke.
Do I need to be good at drawing? No. You can trace patterns onto the wood with graphite paper, so you never have to draw freehand. Simple patterns with bold lines are perfect for beginners and still look great.
Ready to make your first burn
Wood burning is one of the easiest and most rewarding crafts to start. Pick up an affordable beginner kit, grab a few pieces of basswood, print a simple pattern, and give yourself an hour to practice on some scrap. Control the heat, take it slow, keep the smoke away from your face, and enjoy the calm focus of it. Your first finished piece will likely surprise you, and it is the kind of craft that quickly turns into a genuine hobby. Grab our free pattern pack and start today.