Affiliate Disclaimer: This post contains affiliate links, and as an Amazon Associate we earn from qualifying purchases. If you buy through our links, we may earn a small commission at no extra cost to you. We only recommend products we genuinely believe you will enjoy.
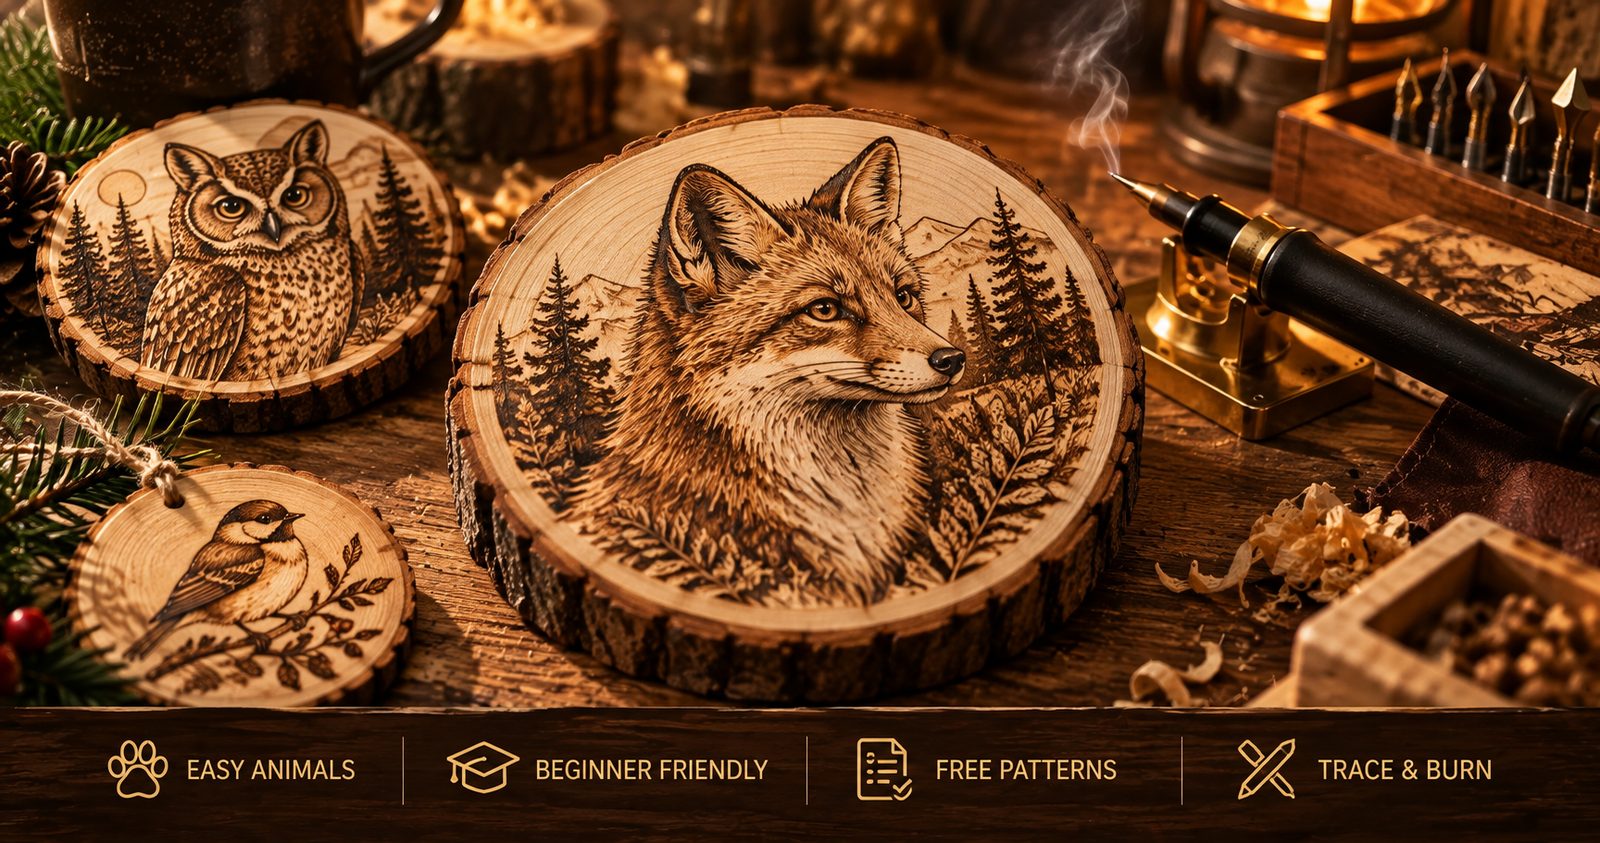
Animals are the most popular subject in all of wood burning, and it is easy to see why. A burned animal design has real warmth and character, the natural wood tones suit fur and feathers beautifully, and there is an animal to match every skill level, from a simple bird outline to a richly shaded wildlife portrait. If you are looking for animal wood burning patterns to try, this guide covers the easiest animals to start with, the themes people love most, tips for bringing your designs to life, and where to find patterns that are ready to print and burn.
Whether you are brand new to pyrography or you already have a few pieces under your belt, animal designs are a rewarding place to focus, and they make wonderful gifts and decor. If you are just getting started with the craft itself, our wood burning for beginners guide walks through choosing a kit and mastering heat control.
Why animals are perfect for wood burning
Animal designs work so well in pyrography because the medium and the subject fit each other naturally. The soft browns of a burned line look like fur, feathers, and warm skin without any need for color. Many animals also have clear, recognizable shapes, so even a simple outline reads instantly as a fox, an owl, or a deer, which is encouraging when you are learning.
Animals also scale beautifully with your skill. A beginner can burn a clean bird silhouette in an evening, while the same subject can later become a detailed study in shading and texture. That means you never really outgrow animal patterns. You just keep finding new depth in them, which is a big part of why they stay the most-loved subject in the craft.
The easiest animals for beginners
If you are starting out, the best animal patterns are the ones with bold, simple shapes and not too much fine detail. These let you focus on clean lines and steady heat control rather than fiddly shading. A few animals are especially forgiving for a first project.
- Birds. A simple songbird, a swallow, or a robin has a clear silhouette and looks charming with minimal detail. Birds are one of the best starting points.
- Foxes. The pointed ears, sharp snout, and bushy tail make a fox instantly recognizable even as a simple shape, and the pointed forms are satisfying to burn.
- Cats. A sitting cat is basically a few smooth curves, which makes it very beginner-friendly and endlessly cute.
- Bees and butterflies. Small, symmetrical, and decorative, these insects are quick wins that look great on coasters and small plaques.
- Fish. A simple fish outline with a few scale marks and a fin is easy and works beautifully on round wood slices.
- Owls. Owls are a favorite for good reason. A stylized owl uses simple round shapes and lets you play with feather texture as you improve.
Start with a bold outline version of any of these, and save the heavily shaded, realistic versions for once your heat control is second nature.
Popular animal themes to explore
Once you are comfortable, animal patterns open up into whole themes you can build a collection around. Woodland animals like deer, foxes, rabbits, hedgehogs, and bears are hugely popular and suit the rustic feel of wood perfectly. Birds of every kind, from garden songbirds to majestic owls and eagles, are a theme all their own. Sea life such as whales, turtles, and fish looks wonderful on round slices and coastal decor. Farm animals like cows, chickens, and pigs are charming for kitchen pieces, and wild animals such as wolves, lions, and elephants make striking statement designs.
Pet portraits deserve a special mention. Burning a likeness of someone’s dog or cat is one of the most meaningful gifts you can make, though a realistic portrait is an advanced project. Start with simple, stylized pet designs and work up to portraits as your shading improves.
Tips for burning animal designs
A few techniques make a big difference when your subject is an animal, since fur, feathers, and eyes are what bring a creature to life.
Burn the outline first, then add detail. Lay down the main shape cleanly before you touch any texture or shading. This keeps your design crisp and stops you from smudging your plan.
Follow the direction of the fur or feathers. Short, light strokes that follow the way the coat grows read as fur, while smooth flowing lines suit feathers. Working with the natural direction is what makes texture believable.
Build shading gradually. Go over areas lightly and layer up the darkness rather than trying to get it dark in one pass. Slow, repeated passes give you smooth, controllable shading.
Give the eyes attention. The eyes carry the life of an animal design. A dark, clean eye with a tiny spot left unburned for a highlight makes the whole piece come alive.
Practice on scrap first. Before you burn the real piece, try your fur strokes and shading on a spare bit of the same wood so your hand is warmed up and you know how the wood behaves.
The best wood and tools for animal patterns
Your results depend a lot on your wood and your pen. For animal designs with any amount of shading, you want a smooth, pale, fine-grained surface that takes heat evenly. Basswood is the top choice, since it is soft, light, and nearly grainless, so fur and shading come out smooth and clean. While some guides suggest keeping burns shallow on birch plywood to avoid the glue, Erik and I advise against burning on plywood at all, especially if you are a beginner, since the glue between the plies can give off harmful fumes when heated. Stick to solid basswood, and if you cannot identify the wood or what has been applied to it, leave it out. Avoid pine for detailed animal work, since its uneven grain makes smooth shading difficult.
For the tool, a solid-tip kit is fine to start, though an adjustable wire-nib burner gives you finer control for fur and shading as you progress. A well-rounded starter option like the TruArt Wood and Leather Pyrography set comes with a range of tips for outlining, shading, and detail. You will also want graphite transfer paper for getting your pattern onto the wood, which we cover next.
How to get an animal pattern onto your wood
Once you have chosen a pattern, you need to transfer it to the wood before you burn. The easiest and safest method is wax-free graphite transfer paper: you lay it on the wood, place your printed pattern on top, and trace the lines with a pencil, leaving a light graphite outline to burn over. You can also rub a soft pencil over the back of your printout and trace the front to press the lines through. For the full walkthrough, including which methods to avoid, see our guide on how to transfer a pattern onto wood.
Where to find animal wood burning patterns
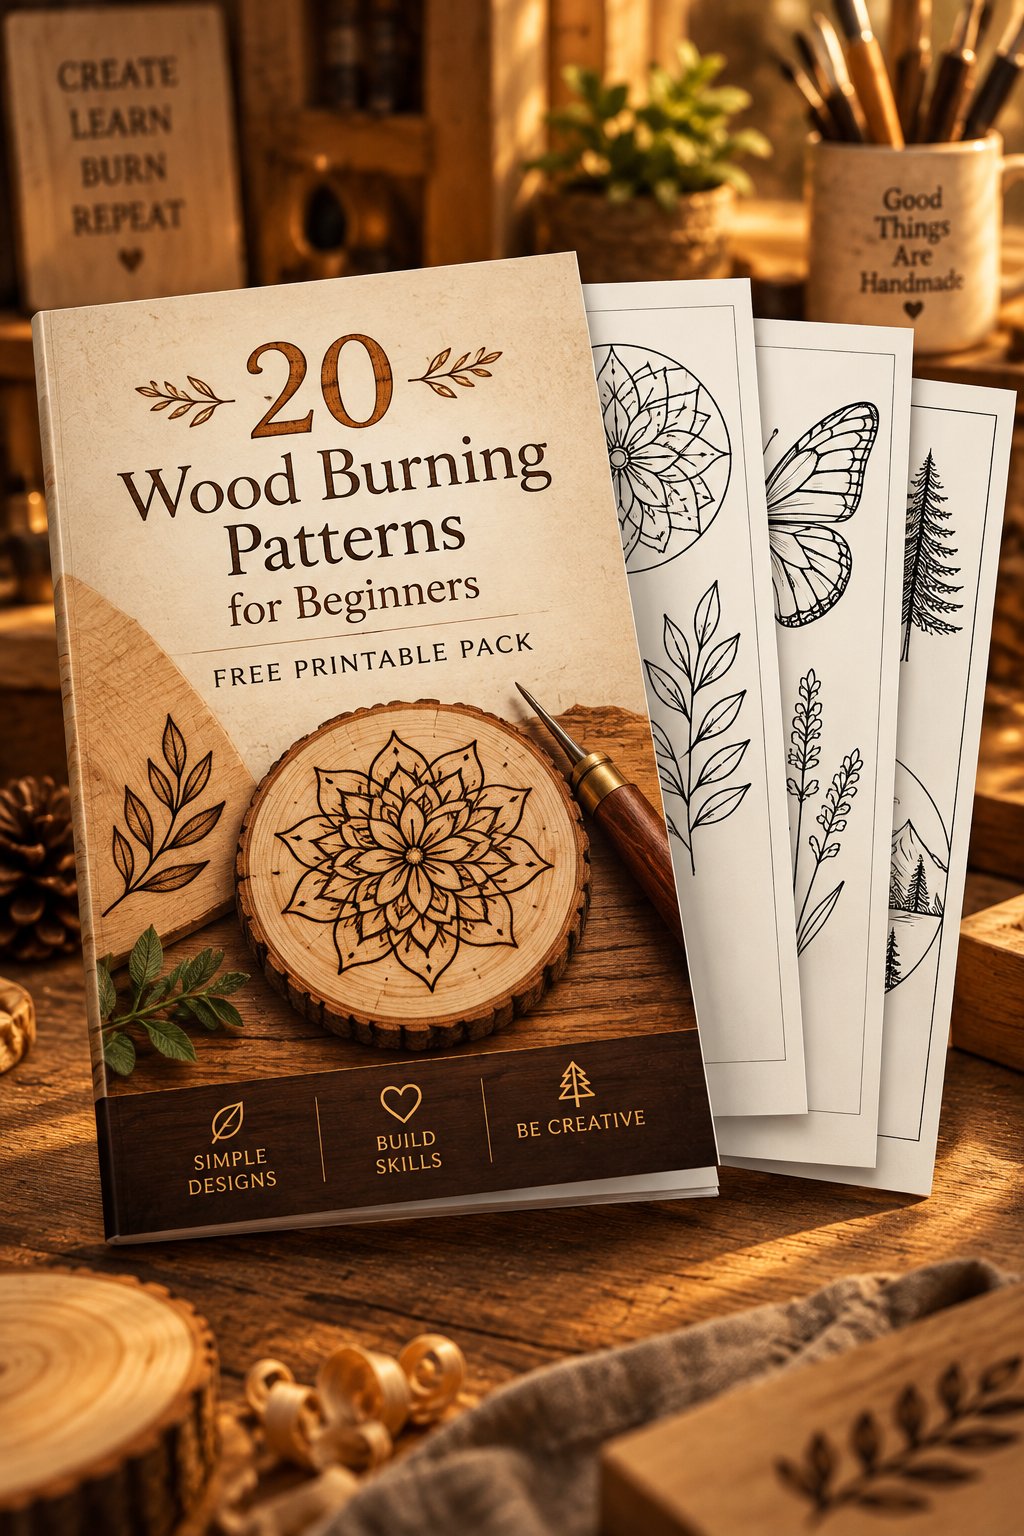
Good patterns take all the guesswork out of getting started, and there is no shortage of animals to choose from. To help you begin right away, we put together a free pack of beginner wood burning patterns you can print at home, and it includes plenty of simple animal designs to trace and burn. It is the perfect way to try a few before you commit to anything.
When you are ready to go further and want a large, organized library to work through for years, our premium collection of 500 wood burning patterns is sorted from easiest to hardest and is packed with animals of every kind, alongside florals, nature scenes, and more. It gives you a lifetime of designs in one place, so you always have your next animal ready to burn. For something with an autumn twist, our 500 Halloween wood burning patterns bring in owls, black cats, werewolves and folklore creatures, aimed at more experienced burners.
Simple animal projects to try
Animal designs shine on small, useful pieces that also make lovely gifts. A set of coasters each featuring a different woodland animal, a round slice with a fox or a deer for the wall, a bird design on a wooden spoon, or a holiday ornament with a little robin are all quick, satisfying projects. Personalized pieces work beautifully too, such as a pet’s name burned beneath a simple portrait. Because animal patterns are so repeatable, you can make a matched set or a batch of gifts without any extra design work.
Frequently asked questions
What is the easiest animal to wood burn for a beginner? A simple bird, cat, or fox outline is hard to beat. They have clear, recognizable shapes and need very little shading, so you can focus on clean lines while you learn.
What wood is best for animal designs? Basswood is the favorite because it is smooth, pale, and fine-grained, so fur and shading come out cleanly. Avoid plywood for burning, since the glue between the plies can give off fumes when heated.
How do I make fur look realistic? Use short, light strokes that follow the direction the fur grows, and build up the darkness with several gentle passes rather than pressing hard. Layering slowly is what gives a soft, believable texture.
Do I need to be able to draw? No. You trace patterns onto the wood with graphite transfer paper, so you never have to draw an animal freehand. That is exactly what pattern packs are for.
Start with an animal you love
Animal wood burning patterns are the perfect blend of approachable and rewarding, which is why they remain the most popular subject in the craft. Pick a simple animal you love, grab a piece of basswood, trace on your pattern, and take it slowly. Burn the outline first, follow the direction of the fur or feathers, and give the eyes a little care, and you will end up with a piece full of character. Grab the free pattern pack to try a few animals today, and when you are hooked, the full 500-pattern collection will keep you burning for years.