
Affiliate Disclaimer: This post contains affiliate links. If you buy through our links, we may earn a commission at no extra cost to you. We only recommend products we genuinely believe can help you.
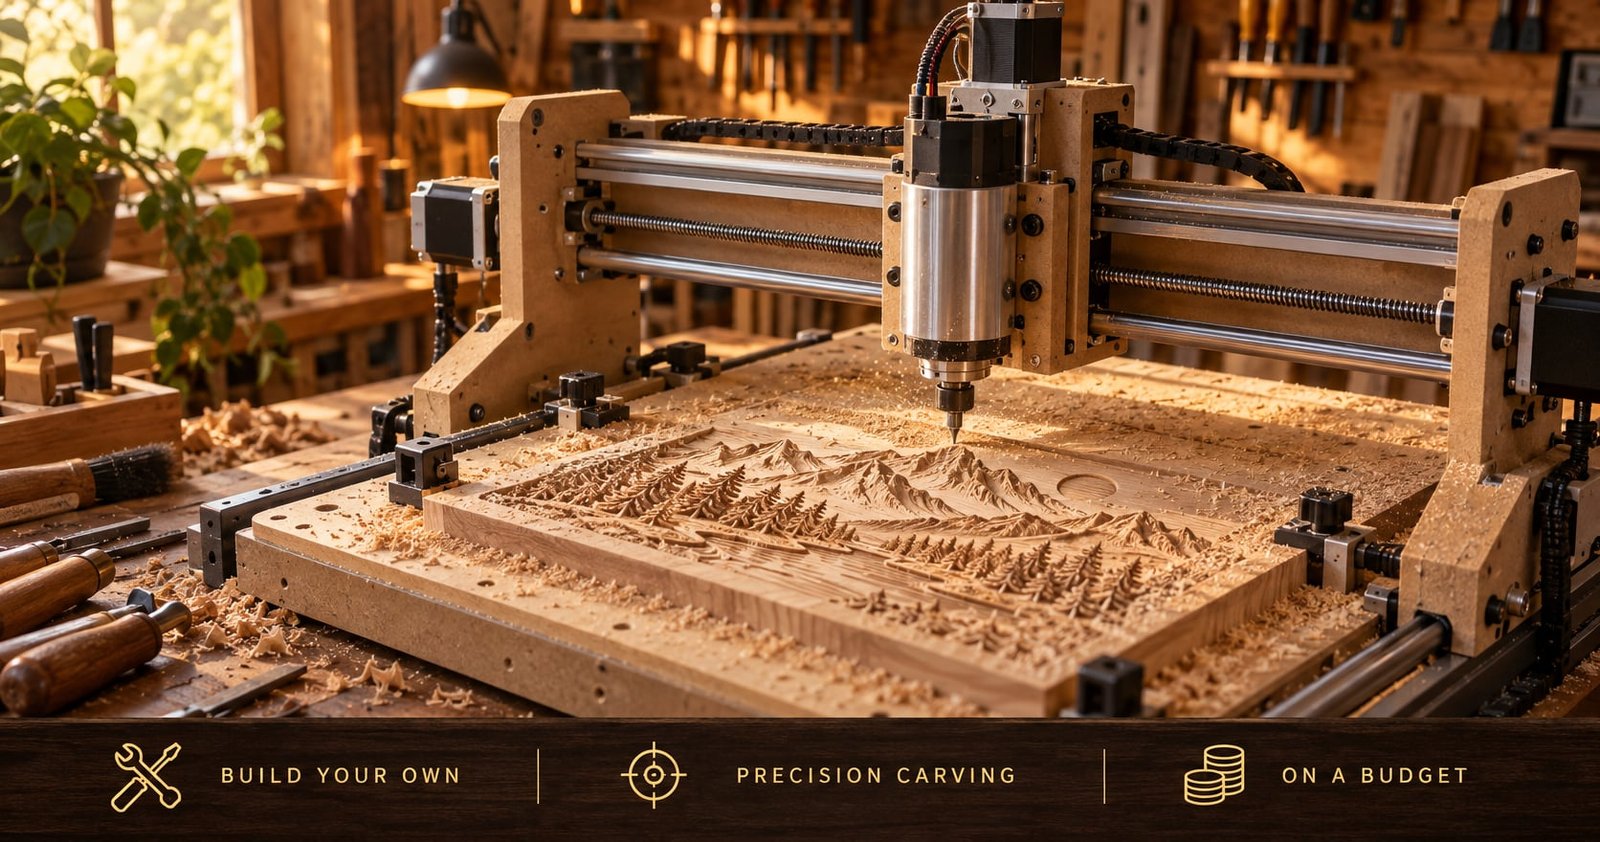
A CNC machine can carve intricate signs, inlays, and 3D designs into wood with a precision no hand tool can match, which is why so many woodworkers want one. The catch has always been the price, since a decent commercial CNC router runs well into the thousands. That is what makes the idea of building your own so appealing: a precision, computer-controlled machine for a fraction of the cost. The DIY Smart Saw is one of the most popular guides for doing exactly that. This is an honest look at what it is, how the build works, what it genuinely costs once you add everything up, and who it does and does not suit.
What a CNC machine actually does
CNC stands for Computer Numerical Control. In plain terms, a CNC router is a machine that moves a cutting tool, usually a handheld router or a spindle, along three axes (left to right, front to back, and up and down) under computer control. You load a digital design, and the machine carves it into the material automatically, following the exact path the software tells it to. That means repeatable, precise cuts, intricate engravings, and shapes that would be painstaking or impossible to do by hand.
For a hobby woodworker, a CNC opens up signs, decorative panels, inlays, detailed carvings, and small production runs of identical parts. It is a genuinely powerful addition to a shop, which is exactly why the cost of commercial machines puts it out of reach for so many people.
Why build your own instead of buying one?
The simple answer is money. A ready-made hobby CNC router typically costs well over a thousand dollars, and capable machines climb from there. Building your own from a guide like the DIY Smart Saw brings the hardware cost down dramatically, because you are buying individual parts and supplying the labor yourself rather than paying for an assembled, branded machine.
There is also the learning. Building a CNC from the ground up teaches you how the machine actually works, which makes it far easier to maintain, upgrade, and troubleshoot later. For a certain kind of hands-on woodworker, the build itself is half the appeal.
What the DIY Smart Saw actually is
It helps to be clear about what you are buying, because this is a common point of confusion. The DIY Smart Saw is a digital program, not a machine or a kit of parts. When you buy it, you get immediate access to a members area with the instructions and resources to build the machine yourself. It includes:
- The blueprint manual, a 176-page e-book with step-by-step instructions, 3D blueprints, exploded views, and exact measurements for cutting the structural parts.
- A master parts list, a complete checklist of every screw, rail, stepper motor, and controller board you need, with the specifications to look for when you buy them.
- Over-the-shoulder video tutorials that walk you through the trickier parts of the build, especially wiring the electronics and assembling the moving axes.
- A software configuration guide for setting up the control software that links your computer to the finished machine.
Everything is delivered digitally as PDFs and streaming video. Nothing is shipped to you. The guide is a one-time purchase of around $39, and it comes with a 60-day money-back guarantee, which matters a lot here for reasons we will get to.
How the build works in practice
The project follows four broad stages:
1. Sourcing the parts. Using the master parts list, you order the electronics (stepper motors, a power supply, and a controller board) and the structural materials (typically MDF sheets or aluminum rails), plus a standard handheld router to do the actual cutting.
2. Building the frame. Following the printable templates and measurements, you cut out the structural plates and assemble the frame of the machine. Accuracy here matters, since the whole machine’s precision depends on it.
3. Wiring and assembly. You mount the motors that drive each axis and connect them to the central control board. This is the most technical stage, and it is where the video tutorials earn their place.
4. Setup and operation. You connect the finished machine to a PC or laptop by USB, set up the control software, and load a design. The machine then moves the router to carve your design into the material.
The honest part: what it really costs and requires
This is where a responsible look at the DIY Smart Saw matters, because the headline price is only part of the story, and going in with clear expectations is what separates a rewarding build from a frustrating one.
The $39 covers the plans only. It does not include any of the physical parts. Once you add the stepper motors, power supply, controller board, rails, lead screws, the structural wood, and a router, you are typically looking at an additional $150 to $500 depending on whether you buy new or salvage used parts, and shipping on heavier items can add more. It is best to budget for the materials as the real cost of the project, with the guide as the inexpensive roadmap.
You will also need software, which you learn separately. The guide points you toward standard third-party CNC control software, often free or open-source options, but it does not hand you a finished, ready-to-run system. To actually make the machine cut, you will need to learn the basics of generating tool paths, setting your zero points, and using CAD or CAM software. That learning curve is real, especially if you are new to it.
It is a real project, not an afternoon. Despite how quick some promotions make it sound, building a CNC machine is a genuine engineering task. Expect to spend hours just understanding the blueprints and wiring diagrams before you cut a single part, and expect the build itself to take patience. If you have never touched electronics, the wiring and calibration stage can be challenging, though the videos are there to help.
A wooden frame has trade-offs. Building the frame from MDF keeps the cost down, which is the whole point, but wood can flex and move with humidity. The plans quote very fine precision, and reaching it depends on careful, accurate assembly. Sloppy cuts can lead to binding axes and carving errors, so this is a project that rewards taking your time.
None of this is a reason to avoid it. It is simply the reality, and knowing it upfront is what lets you decide clearly and succeed if you go ahead.
Who the DIY Smart Saw is for (and who it is not)
This one comes down to the kind of maker you are.
It is a great fit if you enjoy a hands-on build, you are comfortable following detailed instructions, and you are willing to learn a bit of electronics and software as part of the fun. If the idea of building your own precision machine for a few hundred dollars excites you, and you have the patience to do it carefully, this is exactly the kind of project you will love, and you will understand your machine inside out when you are done.
It is not the right choice if you want a precision CNC working on your bench this afternoon with no assembly and no learning curve. If that is you, buying a ready-made hobby CNC will save you the effort, at a higher price. Being honest with yourself about which camp you are in is the single best way to be happy with your decision.
The bottom line on value and risk
At around $39 for the full set of plans, videos, and parts list, the guide itself is inexpensive, and the real investment is the $150 to $500 in parts you choose to buy. The thing that makes it low-risk to look into is the 60-day money-back guarantee that comes with it through ClickBank. If you read through the blueprints and decide the project is more than you want to take on, you can request a full refund, which means you can assess the whole guide before committing to buying any materials. That is a sensible way to approach it: get the plans, read them thoroughly, and only start sourcing parts once you are confident it is a project you want to build.
If you already have a well-equipped shop and enjoy the technical side of making, a DIY CNC can be one of the most rewarding builds you take on. Our guides to essential tools and small workshop layout can help you make room for it.
Frequently asked questions
How much does it cost to build a CNC machine with the DIY Smart Saw? The plans are around $39, but that is only the guide. The physical parts, including motors, electronics, structural material, and a router, typically add $150 to $500 depending on what you buy new or used. Budget for the materials as the real cost.
Do I need electronics experience? It helps. Wiring the motors and controller board and calibrating the software is the most technical part of the build. The video tutorials walk you through it, but a willingness to learn some basic electronics makes the project much smoother.
Is software included? No. The guide shows you how to set up standard third-party CNC control software, often free, but you will need to learn the basics of running it and preparing designs to actually cut anything.
Is there a guarantee? Yes. The program comes with a 60-day money-back guarantee through ClickBank, so you can read the full plans and request a refund if the project is not right for you.
Building your own CNC machine is an ambitious, genuinely rewarding project for the right woodworker. Go in with a clear budget for the parts, a willingness to learn the software, and the patience to assemble it carefully, and the DIY Smart Saw gives you a detailed roadmap to a precision tool that would otherwise cost far more.