
Affiliate Disclaimer: This post contains affiliate links, and as an Amazon Associate we earn from qualifying purchases. If you buy through our links, we may earn a small commission at no extra cost to you. We only recommend products we genuinely believe you will enjoy.
📘 Recommended book: The Workbench: A Complete Guide to Creating Your Perfect Bench
Whether you want to build a bench from scratch or upgrade the one you have, this classic guide by Lon Schleining walks you through choosing and building the workbench that fits the way you work. It covers the history and evolution of bench designs, hundreds of options for benches and accessories, and practical techniques for building, maintaining, and optimizing your bench, illustrated with nearly 300 photos and drawings. A great companion whether you are a beginner or a seasoned woodworker.
If you are just getting into woodworking, there is a strong case for making a workbench your very first real project. A good bench is the foundation of everything else you will build. It is where you measure, cut, assemble, glue, and finish, and a solid one makes all of that easier and safer. Building your own also teaches you core skills, gives you a bench sized exactly for your space, and rewards you with the most useful thing in the whole shop.
This guide covers what makes a good workbench, how to choose the right size and materials, the workholding that makes a bench truly useful, and where to find a complete plan to build from. You do not need advanced skills or a shop full of tools to make one.
Why build your own bench
You can buy a workbench, and some are fine. But building your own has real advantages. You can make it the exact size and height that suits you and your space, which a store-bought bench rarely does. You save money, since a sturdy homemade bench often costs a fraction of a comparable purchased one. And you get valuable practice at squaring stock, drilling, and assembling a solid structure, all on a project where a rustic result is perfectly acceptable. Best of all, once it is done, you have the workspace you need for every project that follows.
What makes a good workbench
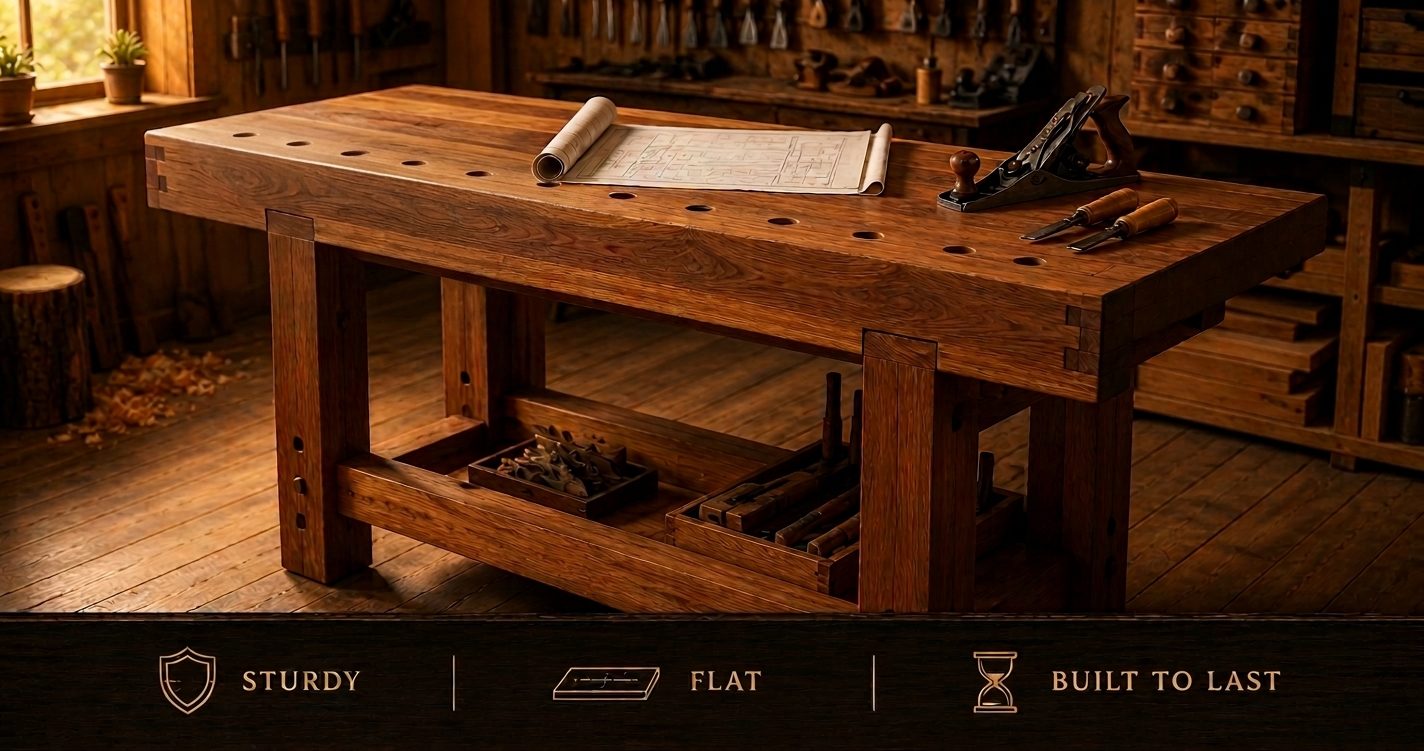
A workbench does not need to be fancy, but it does need to do a few things well. It should be sturdy, so it does not rock or wobble when you plane, chisel, or hammer. It should have a flat, solid top that gives you a reliable surface to build on. It should be the right height for you, so you are not stooping or reaching. And it should be the right size for your space and your projects, big enough to be useful but not so big it takes over.
Weight and stability matter more than looks. A heavy bench stays put while you work, which is exactly what you want. If your bench is on the lighter side, you can add weight low down or anchor it to a wall to keep it steady.
Choosing the right size and height
Size comes down to your space and the projects you plan to build. A bench around five to six feet long and two feet deep suits most home shops and handles a wide range of work, but a smaller bench is perfectly fine for a tight space or for making smaller items. Measure your area and leave room to walk around at least the working side.
Height is worth getting right, because a bench at the wrong height is uncomfortable to use. A common approach is to stand relaxed and measure to where your hands hang, roughly at your wrists, which puts the top at a comfortable working height for general tasks. Many benches land somewhere in the range of thirty-four to thirty-eight inches, but the best height is the one that feels right for you.
Materials: keep it simple and solid
You do not need expensive hardwood to build a great bench. Many excellent, sturdy workbenches are built entirely from construction lumber, and that is a smart, affordable choice for a first build. Standard construction lumber like two-by-fours and two-by-sixes is cheap, strong, and easy to find, and it makes a bench that will take years of hard use.
A popular approach is to laminate several boards on edge to make a thick, heavy top, which gives you a flat, durable work surface with real mass. The base is typically a simple, well-braced frame of the same lumber. If you want a nicer top later, you can add a hardboard or plywood layer that is easy to replace when it gets beaten up, which protects the main top underneath.
The workholding that makes a bench useful
A flat top is good, but what turns a table into a proper workbench is the ability to hold your work firmly. This is where two simple additions earn their place.
A bench vise mounted at the front or end of the bench lets you clamp a board and work on it with both hands, which is essential for planing, sawing, and shaping. It is one of the best upgrades you can add. Bench dogs, which are simple pegs that fit into holes along the top, work with a vise to hold wide pieces flat on the bench surface. Together, a vise and a row of dog holes let you secure almost anything you need to work on. Even a few clamps and a couple of holdfasts go a long way if you are keeping it minimal.
Fixed or mobile?
In a larger shop, a heavy, fixed bench that stays in one place is ideal. In a small or shared space, consider putting your bench on lockable casters. A mobile bench lets you roll it out to work and tuck it against the wall afterward, which can be the difference between having a usable shop and not. Good casters lock firmly so the bench stays rock solid while you work, then release so you can move it easily. Just make sure they are rated for the weight of a loaded bench.
Useful features to consider
Beyond the basics, a few features can make your bench even more useful, and you can add them now or later. A lower shelf between the legs gives you handy storage and adds weight and stability at the same time. A tool well, which is a recessed area along the back of the top, keeps chisels and hand tools within reach but out of your working area. A row of dog holes across the top, paired with your vise, lets you clamp work flat in countless ways. And a power strip mounted to the side keeps your tools plugged in and cords tidy. You do not need all of these to start, but they are worth knowing about as you plan.
Think too about whether your work leans toward hand tools or power tools. Hand tool work, like planing and sawing, benefits from a heavy, low, rock-solid bench that resists movement. Power tool assembly is happy with a lighter, taller bench and plenty of open surface. Most beginners do a mix, so a sturdy, medium-height bench with good workholding covers all the bases.
Caring for your bench
A workbench is a tool, and a little care keeps it serving you well for years. Keep the top reasonably flat and clean, and wipe up glue drips before they harden into bumps that throw off your work. If you use a replaceable top layer, swap it out when it gets too chewed up rather than letting it affect your projects. Check the bolts and joints now and then and snug up anything that has worked loose, since a bench takes a lot of pounding. Left unfinished or given a simple oil finish, the top will develop an honest, worn-in look over time, which is exactly what a good working bench should have.
The tools you will need to build it
A workbench is a forgiving build, and you can make one with a modest kit. A saw to cut your lumber, whether a circular saw or a hand saw, a cordless drill for pilot holes and driving screws, a good set of clamps to hold parts while you assemble and glue, a tape measure, and a square to keep everything true will get you there. A random orbital sander helps smooth the top. If you are still assembling your kit, our guide to essential woodworking tools for beginners covers what to buy first.
How the build comes together
While the exact steps depend on your plan, most workbench builds follow the same general path. You cut your lumber to size, build the two end assemblies of the base, then join them with long rails to form a sturdy frame, checking as you go that everything is square. You build the top, often by gluing and fastening boards together for thickness and mass, then attach it firmly to the base. Finally, you add your vise and drill your dog holes, and give the top a sanding so it is smooth and flat.
None of these steps is complicated on its own. Taking your time, keeping your assemblies square, and clamping well while glue dries are what produce a solid, long-lasting bench. Working from a complete plan with exact measurements takes the guesswork out of every step.
Where to get a complete workbench plan
The easiest way to build a great bench is to follow a detailed plan with a full cut list and clear diagrams, sized for the space you have. That way you are not designing as you go or guessing at dimensions, and your bench comes out solid and square.
A large plans library includes workbench designs for every size of shop, from compact mobile benches to full-size hardwood benches, each with the measurements and steps you need. Pick the one that fits your space, gather your lumber, and build the tool that every future project will rely on.
Frequently asked questions
What is the best height for a workbench? The comfortable range for most people is around thirty-four to thirty-eight inches, but the best height is personal. A common guide is to stand relaxed and set the top at about where your wrists hang, which suits general work.
What wood should I use to build a workbench? Standard construction lumber like two-by-fours is a great, affordable choice and makes a sturdy bench. You can add a replaceable plywood or hardboard top layer to protect the surface and swap it out when it gets worn.
How big should my first workbench be? Around five to six feet long and two feet deep suits most home shops, but size it to your space. A smaller bench is perfectly fine for a tight area or for making smaller projects.
Is a workbench a good first project? Yes. It is forgiving, teaches core skills like squaring and assembly, costs less than buying one, and rewards you with the most useful item in the shop. Working from a complete plan makes it very approachable.
Build the heart of your shop first
A workbench is the one project that makes every other project easier. Build a solid, flat, well-sized bench, add a vise and a few dog holes, and put it on wheels if your space is tight. It teaches you real skills, it costs less than buying one, and it gives you the sturdy, reliable workspace that good woodworking depends on. Start here, and everything you build afterward will be better for it.